Shooting Melbourne's Backlit Streets on a Fujifilm X-T5
A Fujifilm X-T5 with a 23mm f/2.0 prime lens, 3 hours in Melbourne CBD, and plenty of backlight to work with.
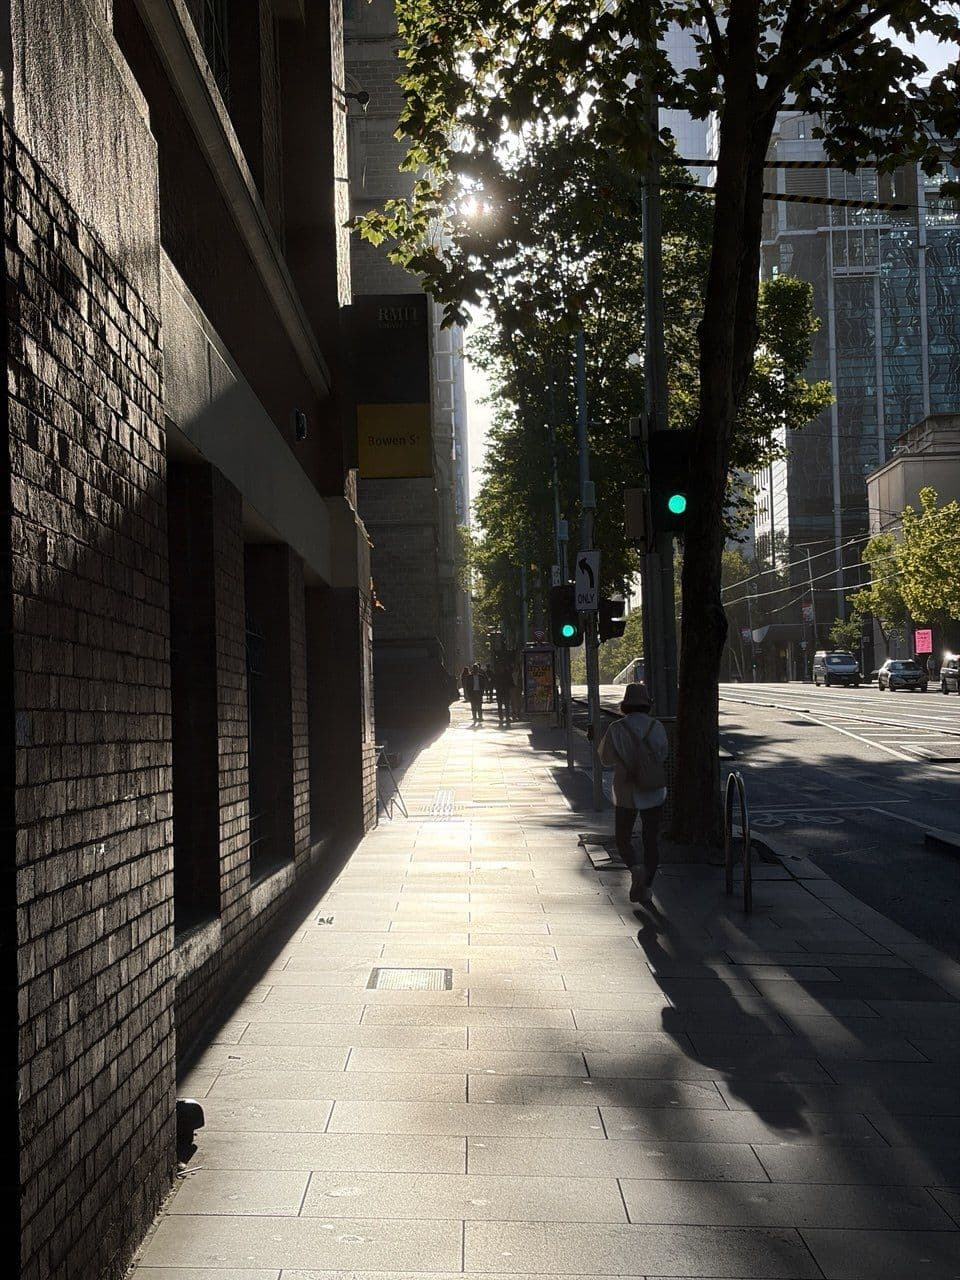
Backlit sidewalk, Melbourne CBD. Dam was shooting this scene on his Fujifilm X-T5 with the 23mm f/2.0.
The Setup: Fujifilm X-T5 + 23mm f/2.0
Dam showed up with a Fujifilm X-T5 and a 23mm f/2.0 prime lens. The X-T5 still has physical dials on top of the body for shutter speed, ISO, and exposure compensation. You turn a dial and the setting changes, no menus. It sounds like a small thing until you're standing on a street corner trying to adjust three variables at once.
The 23mm on Fuji's crop sensor gives you roughly 35mm equivalent, which is the classic street focal length. Wide enough to get the scene in, tight enough that faces don't stretch at the edges. At f/2.0 it lets in plenty of light, which matters when you're shooting straight into backlight and the shadows go deep. A solid setup for the manual mode course .
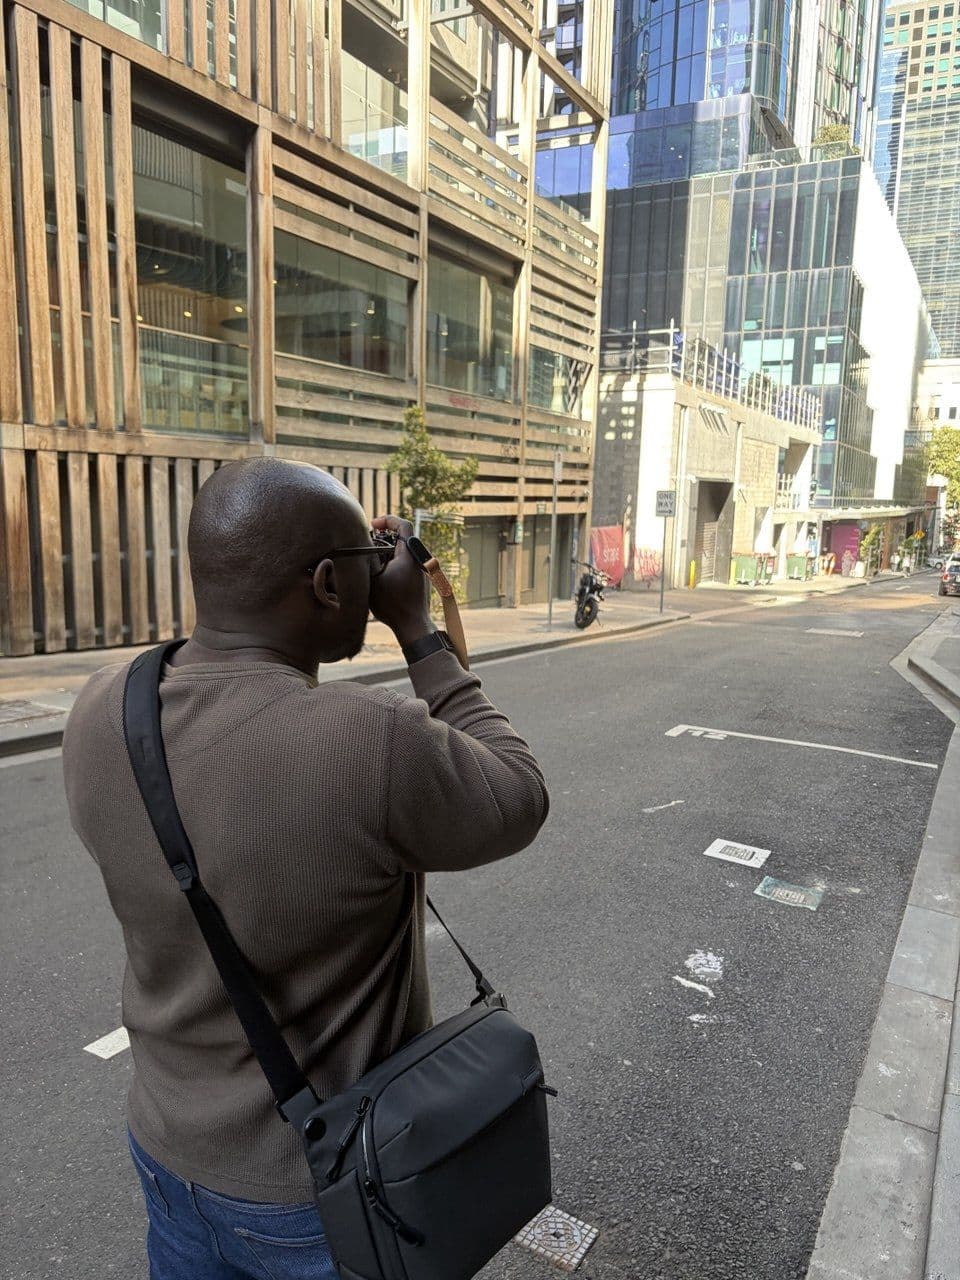
Dam lining up a shot with his Fujifilm X-T5 in Melbourne CBD.
Backlight and Leading Lines
The sidewalk shot at the top of this page has strong backlight, converging leading lines, and trees framing both sides. Melbourne CBD is full of scenes like this, and the course covers how to handle them in full manual mode.
Backlight is tricky to meter. The camera sees a bright light source and wants to darken the whole frame. In manual mode, you control that directly through ISO, shutter speed, and aperture rather than relying on the camera's metering. The course covers how to read the histogram, adjust for backlit scenes, and keep shadows readable without losing the look of real backlight.
Shutter speed matters too. At 23mm you can handhold 1/125s comfortably, but when you need more light the temptation is to slow the shutter down. On a busy street that means motion blur. Bumping the ISO is usually the better call. The X-T5's APS-C sensor is clean at 3200 and still usable past that.
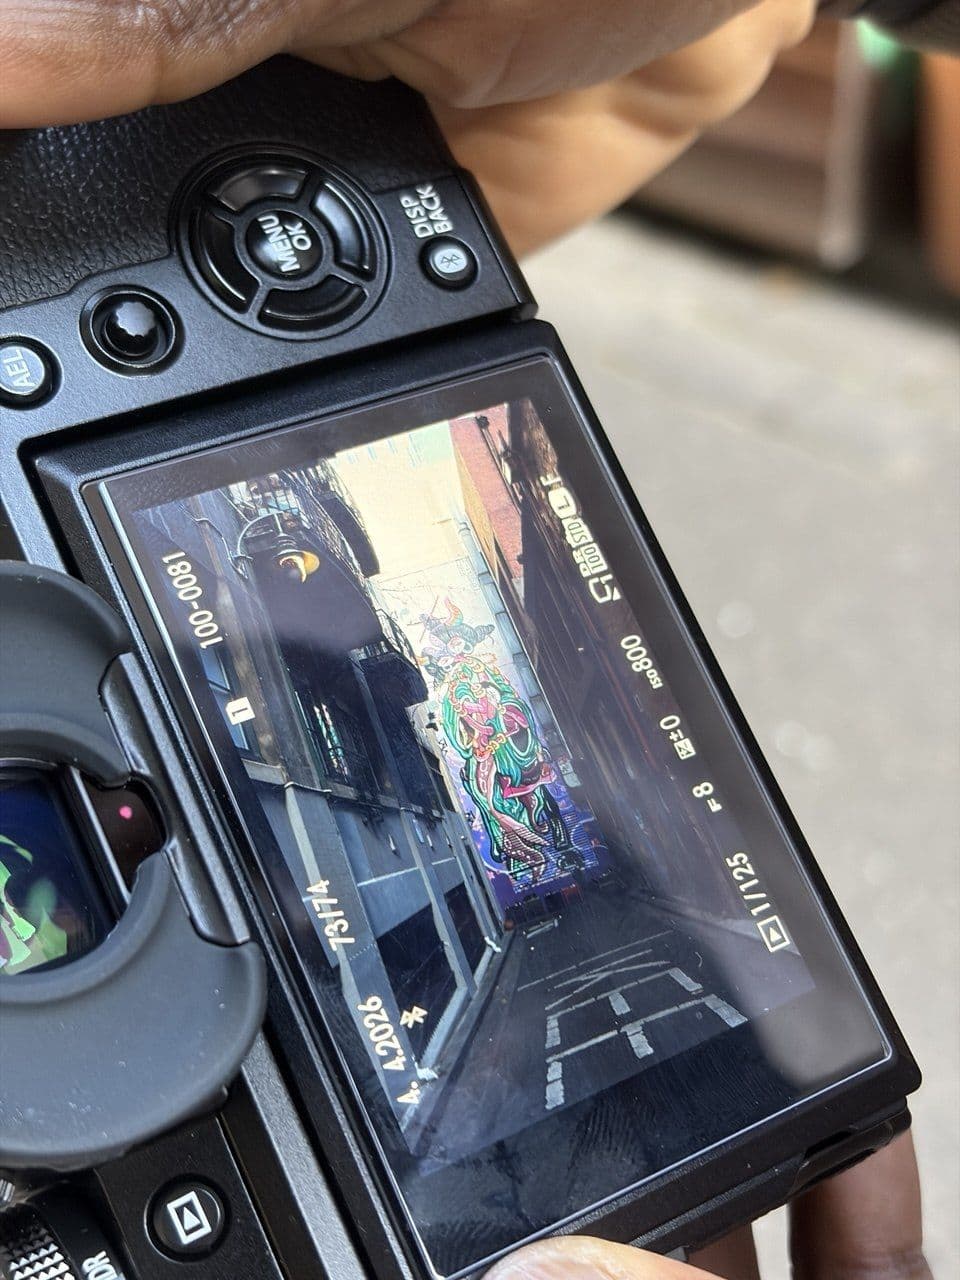
Checking the composition on the X-T5's rear LCD. Colourful laneway, full manual.
Why the X-T5 Is Built for Learning
The X-T5 has dedicated physical dials for shutter speed and ISO on top of the body, and an aperture ring on the lens. You can look at the camera switched off and read all three settings.
For learning, that matters. "Drop your shutter speed to 1/60" means finding a dial and turning it, not scrolling through a menu. It feels like using a film camera, and it pairs well with the step-by-step approach the course takes.
The 23mm f/2.0 pairs well with it. Small enough to carry all day, sharp, and fast to focus. If you shoot Fuji and want one lens to learn street photography on, the 23mm is a strong option. Still deciding on a camera? Our beginner camera guide covers all the major brands.
Fujifilm X-T5 Photography Course: Quick Answers
Is the Fujifilm X-T5 good for street photography?
It's genuinely good for it. The physical dials mean you can change settings fast without diving into menus, and the body is small enough that you don't look like a tourist lugging a massive camera around. Stick a 23mm f/2.0 on it and you've got a proper street setup.
Can you learn manual mode with a Fujifilm camera?
Fuji's dial layout helps. The X-T5 has real dials for shutter speed and ISO, plus an aperture ring on the lens. You can see where every setting is without turning the camera on. The physical controls make the jump to full manual less abstract.
What lens should I use for street photography on Fujifilm X-T5?
The 23mm f/2.0 is hard to beat. It gives you a 35mm equivalent on the X-T5's APS-C sensor, which is the classic street focal length. It's small, sharp, and fast to focus. Wide enough for scene-setting shots, tight enough that faces don't distort at the edges. Dam used it for the entire session.
What the Course Covers
- Manual exposure: setting ISO, shutter speed, and aperture for the scene in front of you
- Reading backlight and metering for tricky scenes without relying on auto modes
- Using the X-T5's physical dials to adjust settings quickly while shooting on the street
- Focal length and framing: 23mm on a crop sensor gives 35mm equivalent, the classic street length
- When to push ISO instead of slowing the shutter, and how high your sensor can go cleanly
The course is 3 hours of street shooting in Melbourne CBD, working through real scenes on your own camera. For post-processing the RAW files from the session, there's also a Lightroom course. See how Joseph did the same thing with a Canon R8, how Janet went from auto to manual on a Canon R100, or Ron's session with a Sony A7CR, or two more Fujifilm cameras, a Fujifilm X-T30 III and a medium-format GFX 50S, on the same walk.
Your Turn
The DSLR & Mirrorless Express Photography Course runs on Fridays or Saturdays in Melbourne CBD. Max 2 students. $499. Check our photography tips for beginners if you want a head start before you come.