A Nikon Z6 II and One 28-400mm Lens on a Melbourne Photography Course
One lens covering 28mm to 400mm, a full-frame Nikon, and a Friday morning through the CBD laneways and along the Yarra.
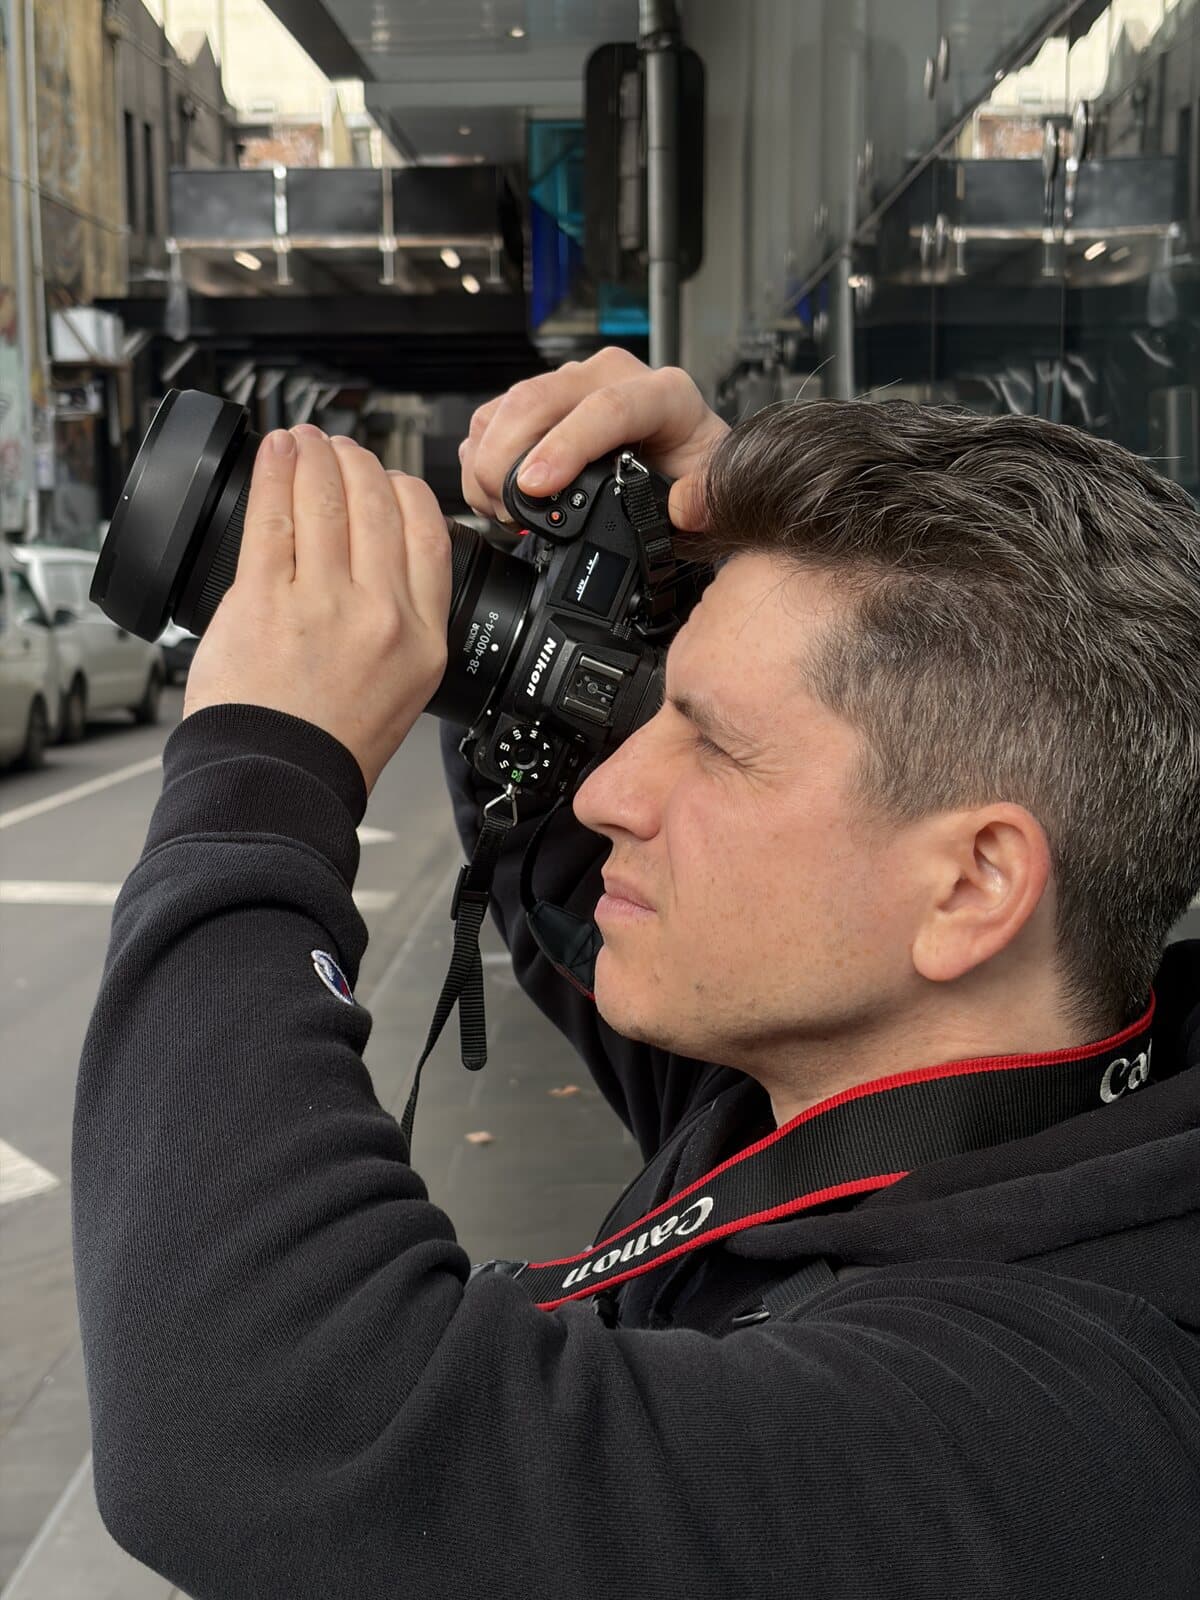
Michael working a laneway scene on the Nikon Z6 II, full manual.
The Gear: Nikon Z6 II and the NIKKOR Z 28-400mm f/4-8 VR
Michael turned up with a Nikon Z6 II and the NIKKOR Z 28-400mm f/4-8 VR. The Z6 II is a 24.5-megapixel full-frame mirrorless body with in-body stabilisation, a small info LCD on the top plate, and U1, U2 and U3 slots on the mode dial for saved setups.
That top LCD earns its keep on a course like this. Shutter speed, aperture and ISO all sit there in one glance, so "bring your shutter to 1/250" is a quick look down at the top of the camera.
The 28-400mm is a single lens covering wide through to long telephoto. Three hours through the city on one lens means no swapping glass on a footpath, and a laneway mural and a detail on a tower several storeys up are both reachable from where you're standing.
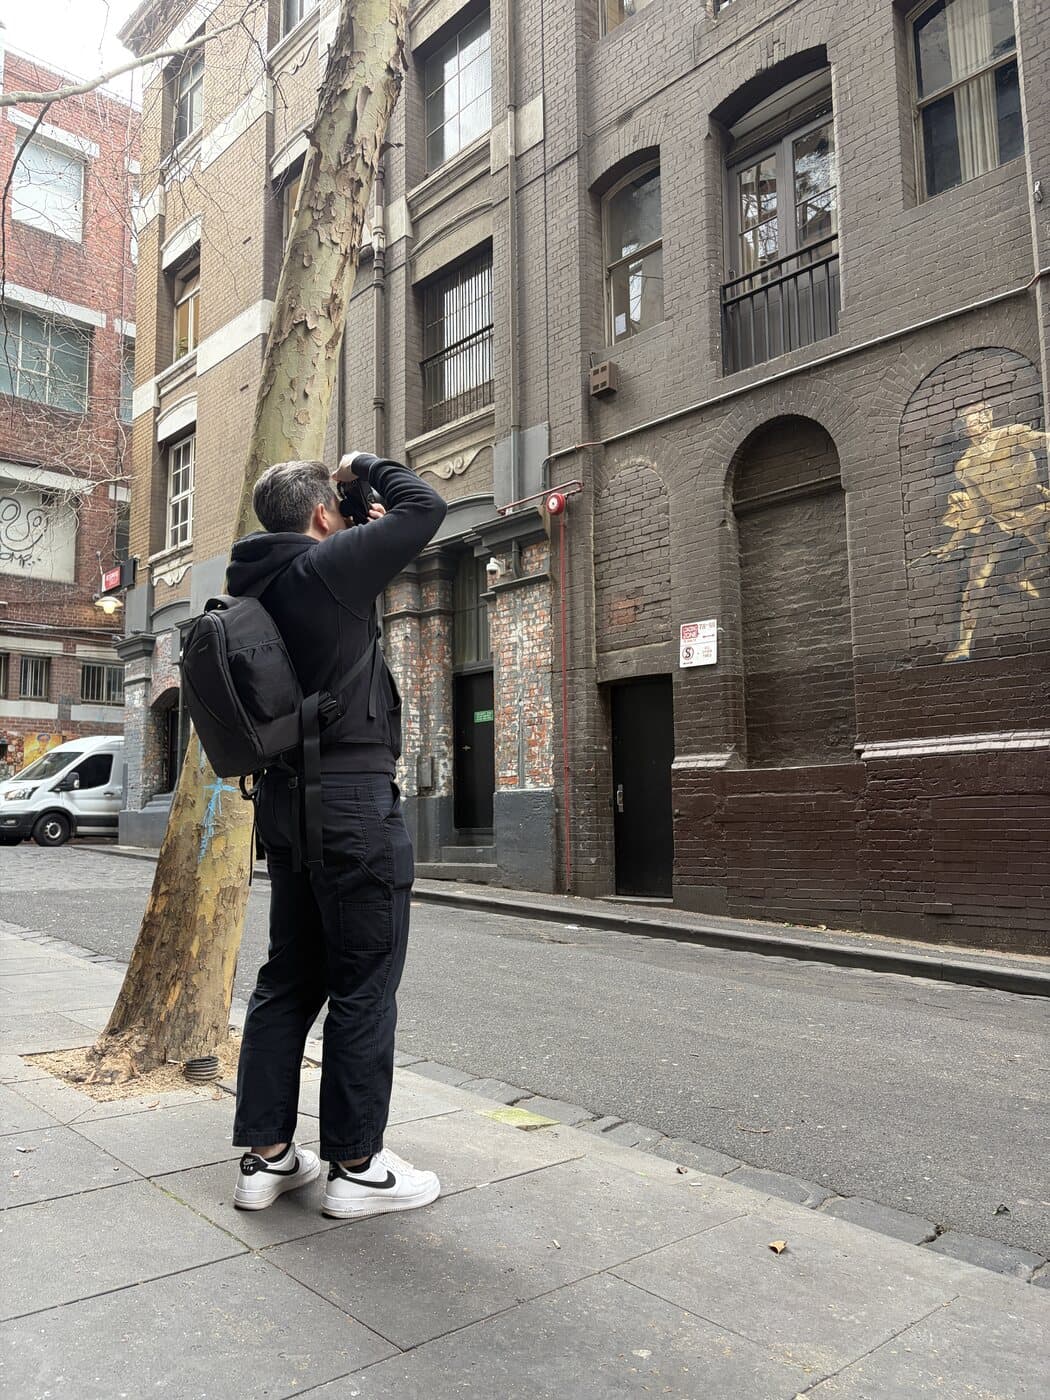
Shooting up at the brickwork and the painted figure on the wall, Melbourne CBD.
Manual Mode on the Nikon Z6 II
The f/4-8 in the lens name is the part worth understanding. At 28mm the widest aperture available is f/4. Zoom to 400mm and the widest available becomes f/8. The aperture shifts as you zoom, which is how most superzooms are built.
In full manual that has a real consequence. Set an exposure at the wide end, zoom in, and the light reaching the sensor drops by two stops along the way. The frame gets darker and nothing on the camera has visibly changed. The good news is that the fix is straightforward once you can see it happening: watch the aperture on the top LCD as you zoom, and bring the ISO or shutter speed back to match.
Working through that on the street is a good way into the exposure triangle, because the three settings stop being abstract the moment one of them moves on its own.
Using a 28-400mm Superzoom as a Street Photography Lens
Most advice about the best lens for street photography lands on a small, fast prime around 35mm. A 14x superzoom is a different proposition, and it changes what you can reach. A mural six storeys up on a laneway wall is a real subject at 200mm and a small patch of colour at 28mm.
Long focal lengths also compress distance, stacking a row of buildings closer together than they look to the eye. Melbourne CBD suits that, because the streets are long and straight and there is usually something worth pulling in at the far end.
The trade-offs are the ones any superzoom carries: a variable aperture, more size and weight than a prime, and f/8 as the widest opening once you are out past 300mm. On an overcast Melbourne morning that means ISO does more of the work.
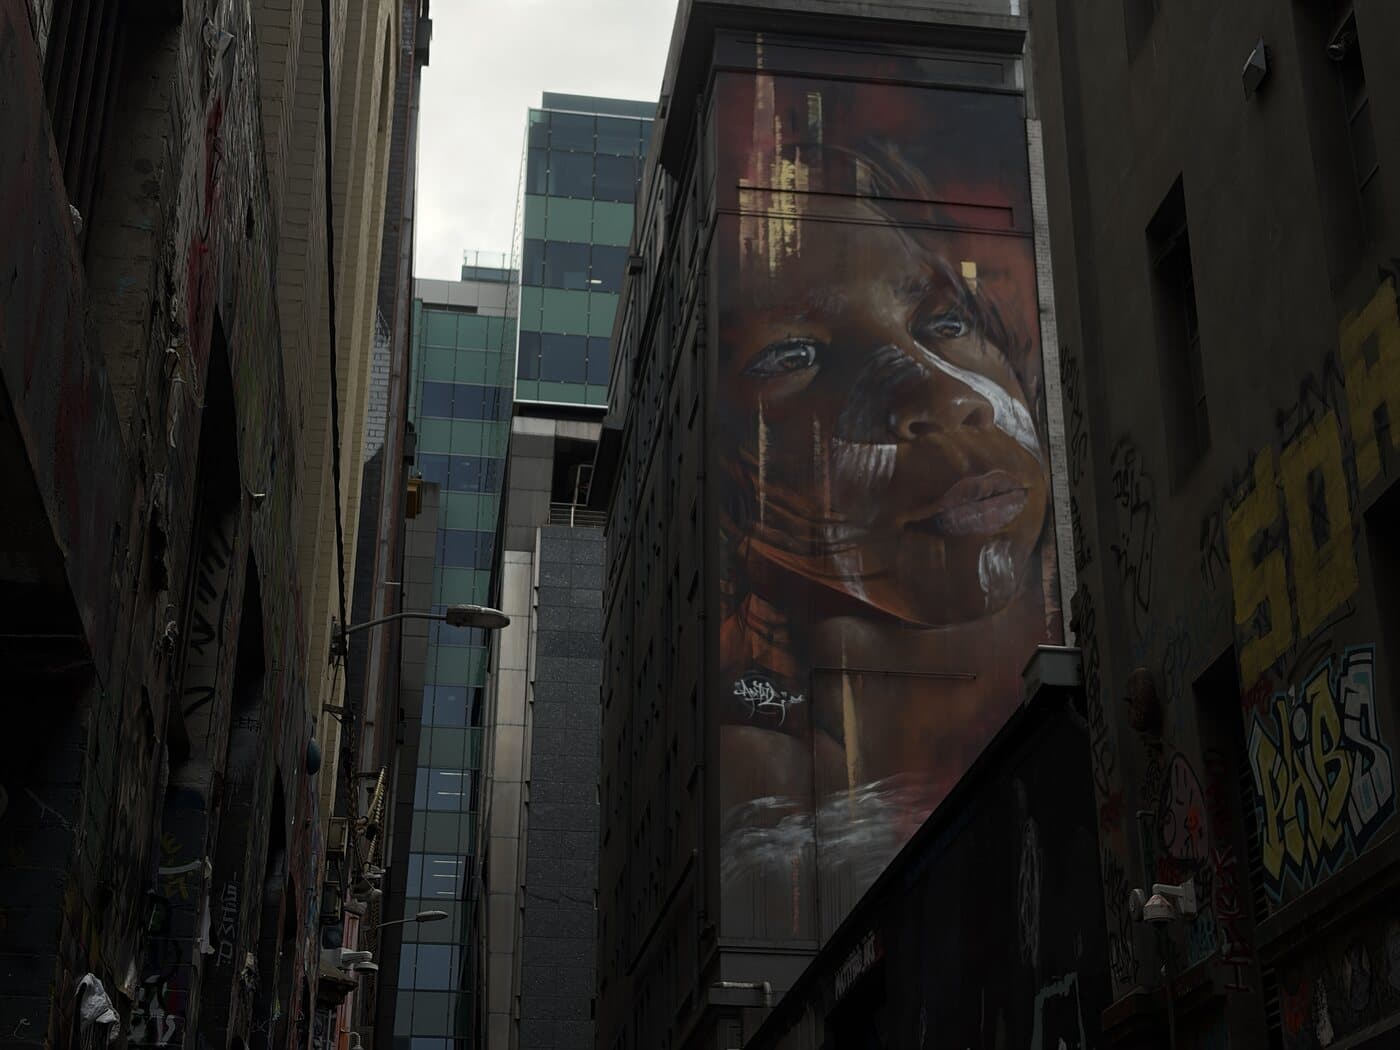
Looking up a narrow laneway at a mural running the full height of the wall.
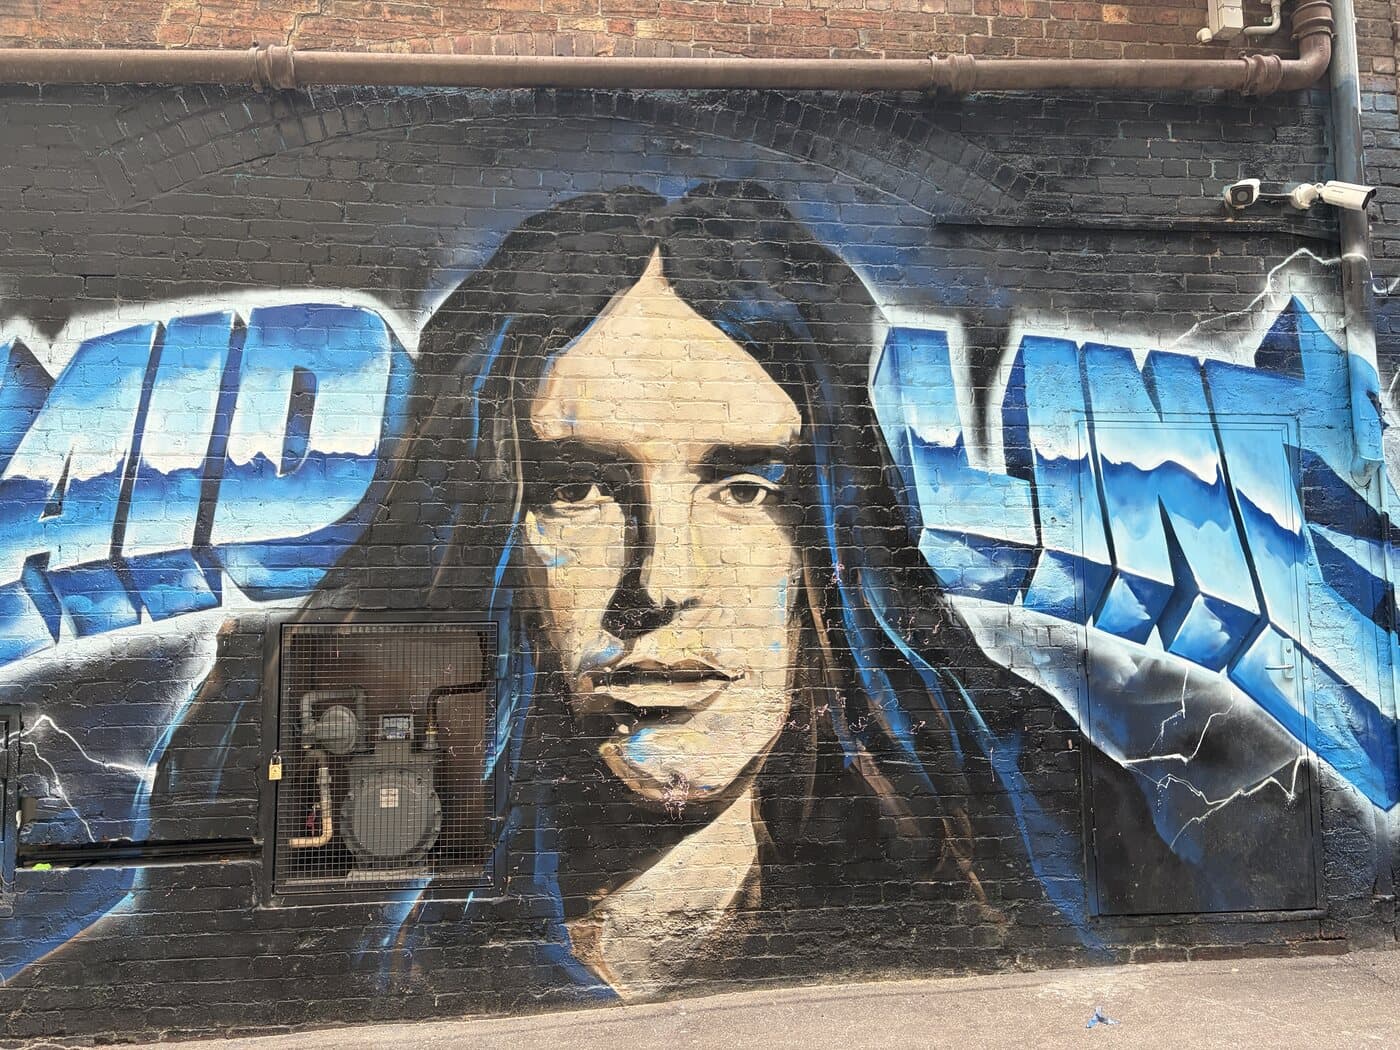
Flat, even light on a brick wall. Straightforward to meter, and a good one to practise on.
Three Hours Through Melbourne CBD: Street Art to Skyline
The sky was flat white cloud all morning, which is honestly a gift when you're learning. There are no blown highlights to fight and no black shadows to rescue, so the settings you choose are the settings you get.
The route covers laneway murals, heritage brickwork, the glass towers along Collins Street, and the Yarra. Each one asks something different of the camera. A mural on a shaded wall is even and slow to shoot, while a skyline across water carries a bright sky and a dark foreground in the same frame.
The eight spots the walk covers are all within the CBD, so the whole three hours is on foot.
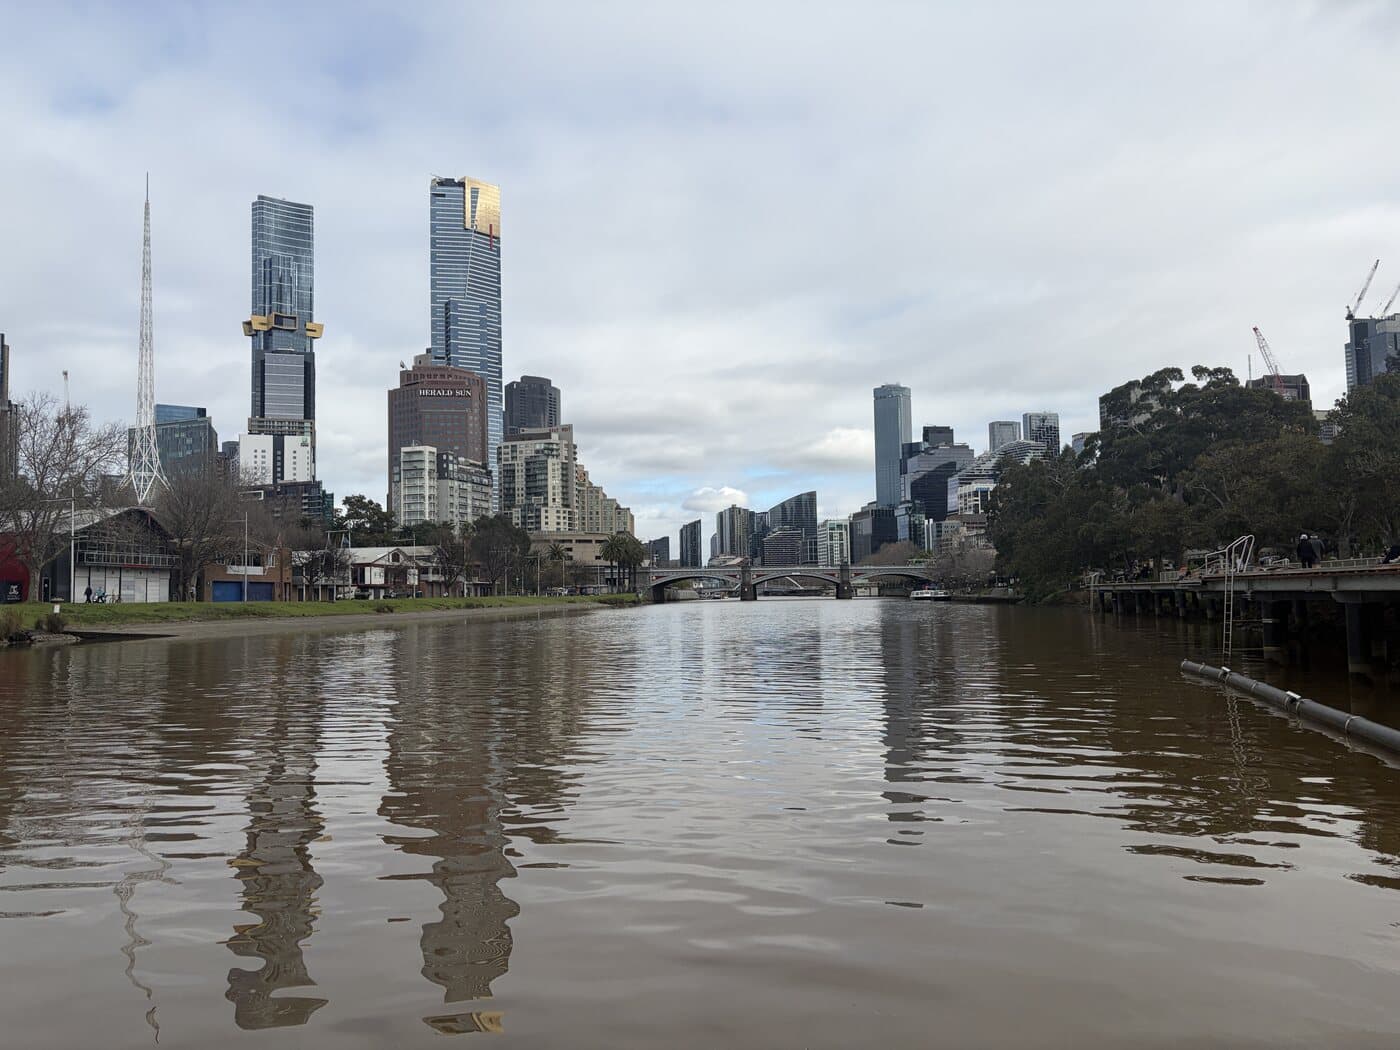
Low to the water on the Yarra, with the skyline and the Arts Centre spire on the left.
Using Glass and Reflections in the City
Melbourne's CBD is wall-to-wall glass, and a shopfront or hotel window will hand you a second version of the street to work with. The shot below was taken into the glass across from the Westin, with the building opposite folded into the frame.
Reflections are also a metering problem worth having. The glass is darker than the scene it's reflecting, so the camera gets two very different brightness levels in one frame and has to be told which one matters.
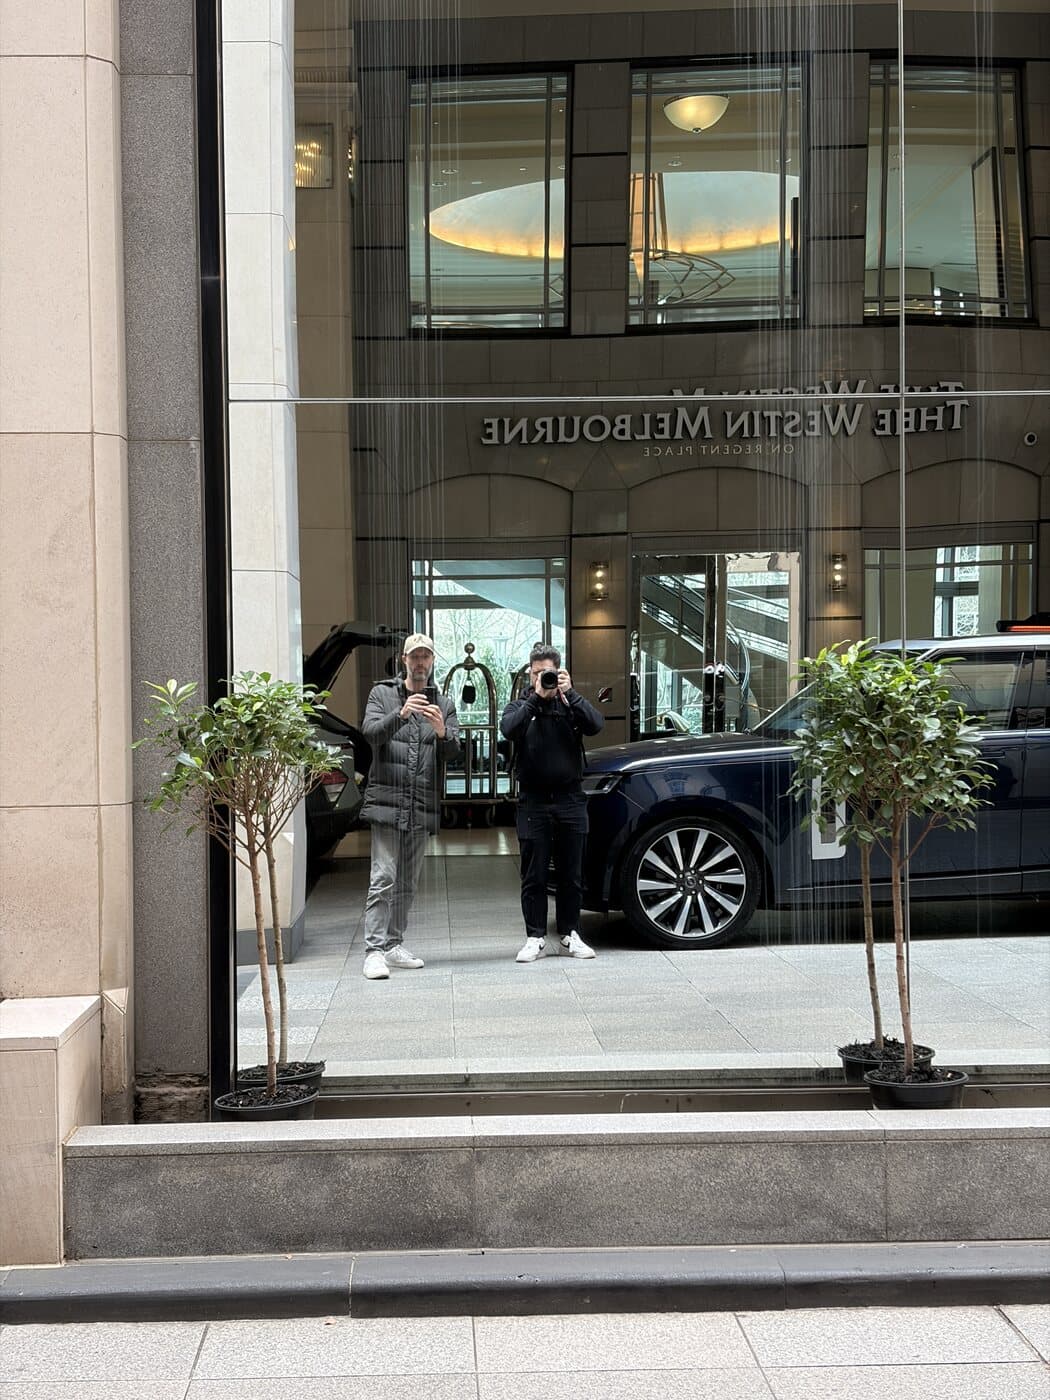
Shooting into the glass on Collins Street, with the Westin entrance reflected back.
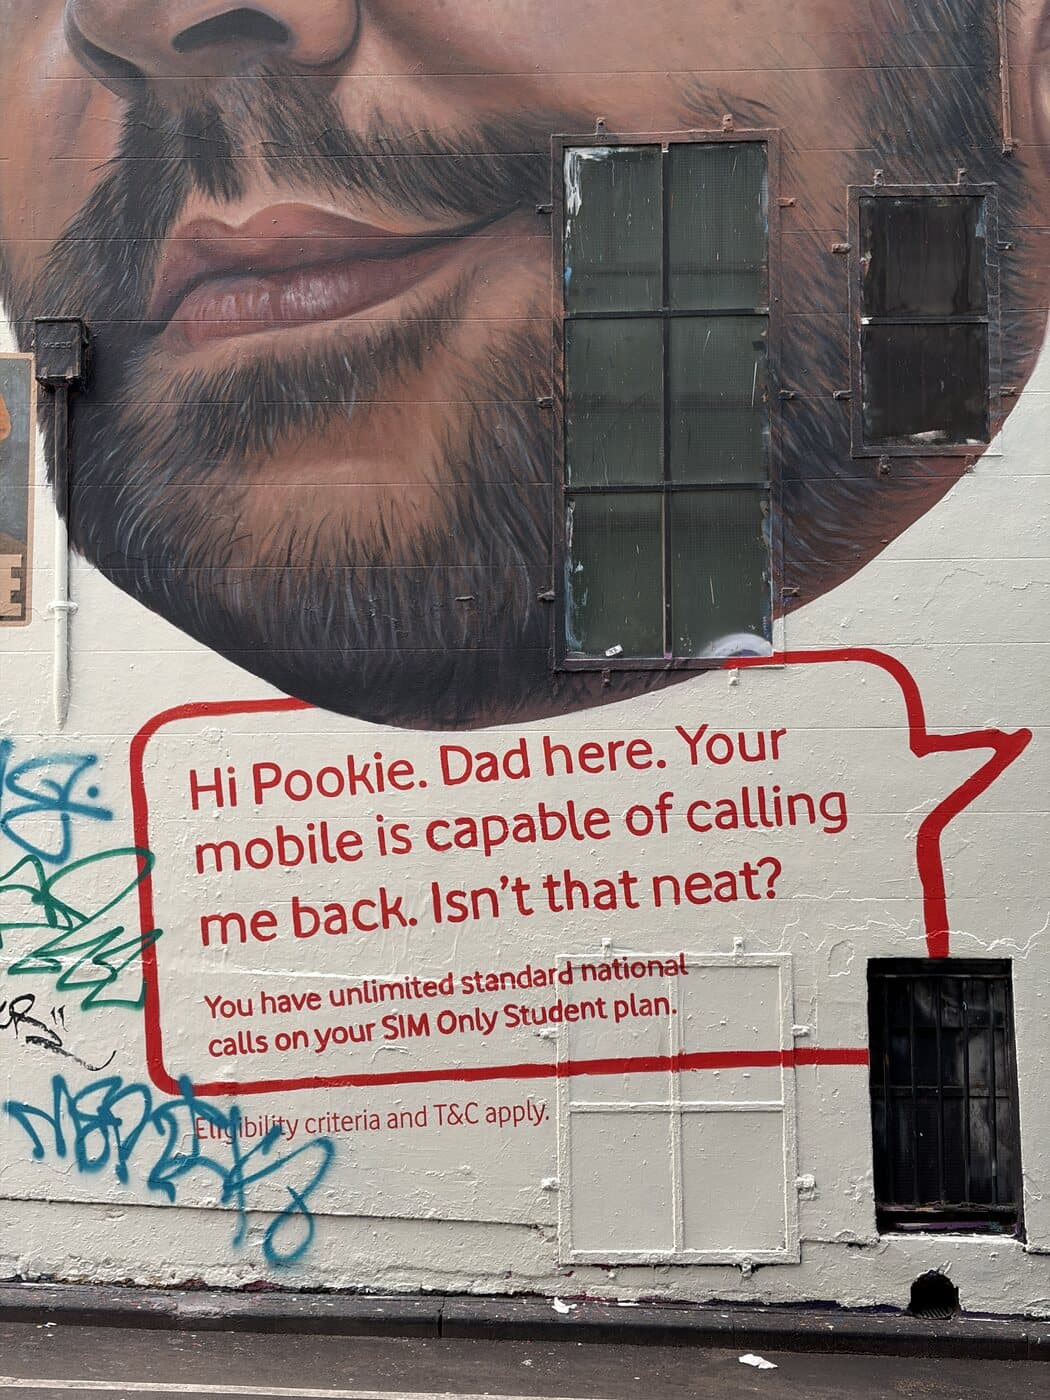
Painted wall with the windows built into the artwork.
Nikon Z6 II and 28-400mm: Quick Answers
Is the Nikon Z6 II good for learning manual mode?
It suits it well. There are separate front and rear command dials, so aperture and shutter speed each get their own control, and the top plate LCD shows all three exposure settings at once without turning the camera to your eye. The U1, U2 and U3 slots on the mode dial also let you park a manual setup and come back to it.
What does f/4-8 mean on the NIKKOR Z 28-400mm?
It's the widest aperture available at each end of the zoom. At 28mm you can open up to f/4. By 400mm the widest available is f/8, which is two stops darker. The change happens gradually as you zoom, so in manual mode an exposure set at the wide end will be under by the time you reach the long end unless you adjust ISO or shutter speed to match.
Is a 28-400mm superzoom a good single lens for a city walk?
It covers a lot of ground from one body. A laneway mural at 28mm and architectural detail at the top of a tower at 400mm are both reachable without changing lenses on a busy footpath. The trade-off is the variable aperture, which means less light as you zoom in and something to keep an eye on in manual mode.
What are the best settings for street photography on a Nikon Z6 II?
It depends on the light in front of you, which is the whole point of shooting manual. On an overcast Melbourne morning a common starting point is 1/250 to keep moving people sharp, the aperture wherever the zoom leaves it, and ISO doing the balancing. The Z6 II's full-frame sensor handles higher ISO comfortably, so raising it is usually a better move than dropping the shutter speed on a busy footpath.
Nikon 28-400mm or 24-200mm as a walkaround lens?
They cover different ground. The 28-400mm reaches twice as far and gives up light at the long end, closing to f/8. The 24-200mm starts wider at 24mm, which matters for tight laneways and interiors, and stays brighter through the range. Both are one-lens setups for a day in the city, so it comes down to whether you want the extra reach or the wider wide end.
How do you photograph reflections in shop windows?
Decide first whether the reflection or what is behind the glass is your subject, because they sit at different brightness levels and the camera can only expose for one. Shooting at an angle rather than straight on keeps your own reflection out of the frame, and a darker interior behind the glass makes the reflected street read more strongly.
Do I need a full-frame camera for a photography course?
Any camera with full manual control works for the course. Students have brought full-frame bodies like the Z6 II, APS-C bodies, and medium format. The exposure triangle behaves the same way on all of them. Our beginner camera guide covers what the differences actually change.
What the Course Covers
- Manual exposure: setting ISO, shutter speed, and aperture for the scene in front of you
- Working a variable aperture zoom, and keeping exposure steady as the aperture shifts with focal length
- Reading the Z6 II's top plate LCD and command dials without taking your eye off the scene
- Metering mixed-brightness scenes: bright sky over dark water, and reflections in city glass
- Choosing focal length deliberately across a 28-400mm range, and what each end of it does to a scene
The course runs 3 hours on foot through Melbourne CBD, on your own camera, in full manual. The written guides walk through manual mode one setting at a time if you want to read up first, and there is a Lightroom course for the RAW files afterwards. You can also read about Ron's session on a Sony A7CR, Joseph's on a Canon R8, or Julia's on a Sony A7 III.
Your Turn
The DSLR & Mirrorless Express Photography Course runs on Fridays or Saturdays in Melbourne CBD. Max 2 students. $499. Check our photography tips for beginners if you want a head start before you come.