A Sony A7 III and a 24-105mm G on a Melbourne Photography Course
Julia worked a single 24-105mm zoom on her full-frame Sony A7 III, one lens to cover the whole three-hour walk through Melbourne CBD.
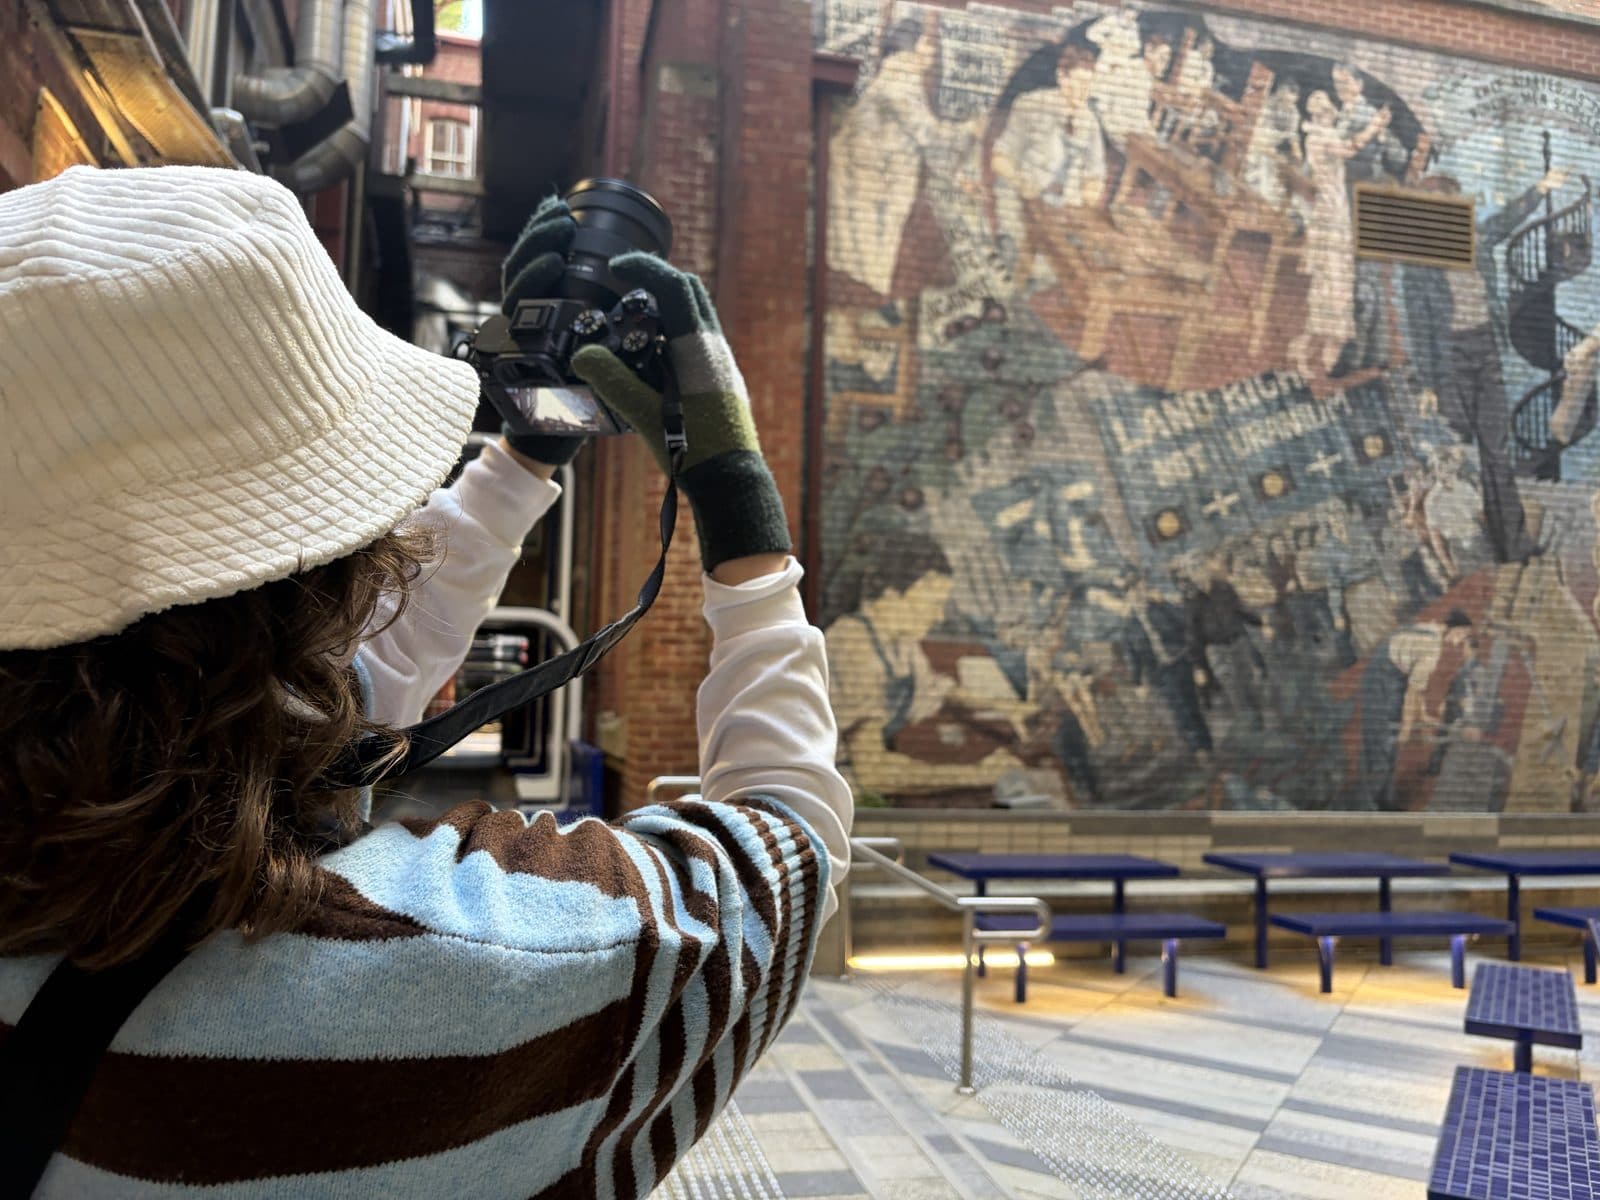
Julia framing a huge tapestry mural in a city courtyard, the A7 III up at eye level.
The Camera: Sony A7 III and a 24-105mm f/4 G
Julia shot a Sony A7 III, a 24-megapixel full-frame mirrorless body, with the FE 24-105mm f/4 G OSS. It's a single-lens setup that covers a lot of ground: 24mm is wide enough for a building or a full laneway, 105mm pulls in a detail across the street, and the aperture stays at f/4 through the whole range. The OSS in the name is Sony's optical stabilisation, which steadies the frame when the light drops and the shutter slows.
One body and one zoom is a comfortable way to spend three hours on foot. There's no lens swapping to think about, so the whole session goes on framing and exposure. If you're still working out which camera to bring, our beginner camera guide walks through what to look for.
Manual Mode on the A7 III
The A7 III reaches full manual through two command dials and a dedicated ISO control, so shutter speed, aperture, and ISO each have their own place to live. Once you know where they sit, you can set all three without leaving the viewfinder. Three hours is enough time to get the layout under your fingers and to see what each setting does to a photo as the light changes around the city.
The numbers move with the light. In the shade of a street-art laneway, the back screen reads 1/50 at f/4, ISO 800, the kind of settings a covered lane asks for. Reading a scene and landing on figures like that is what the exposure triangle is for, and it's most of what the three hours cover.
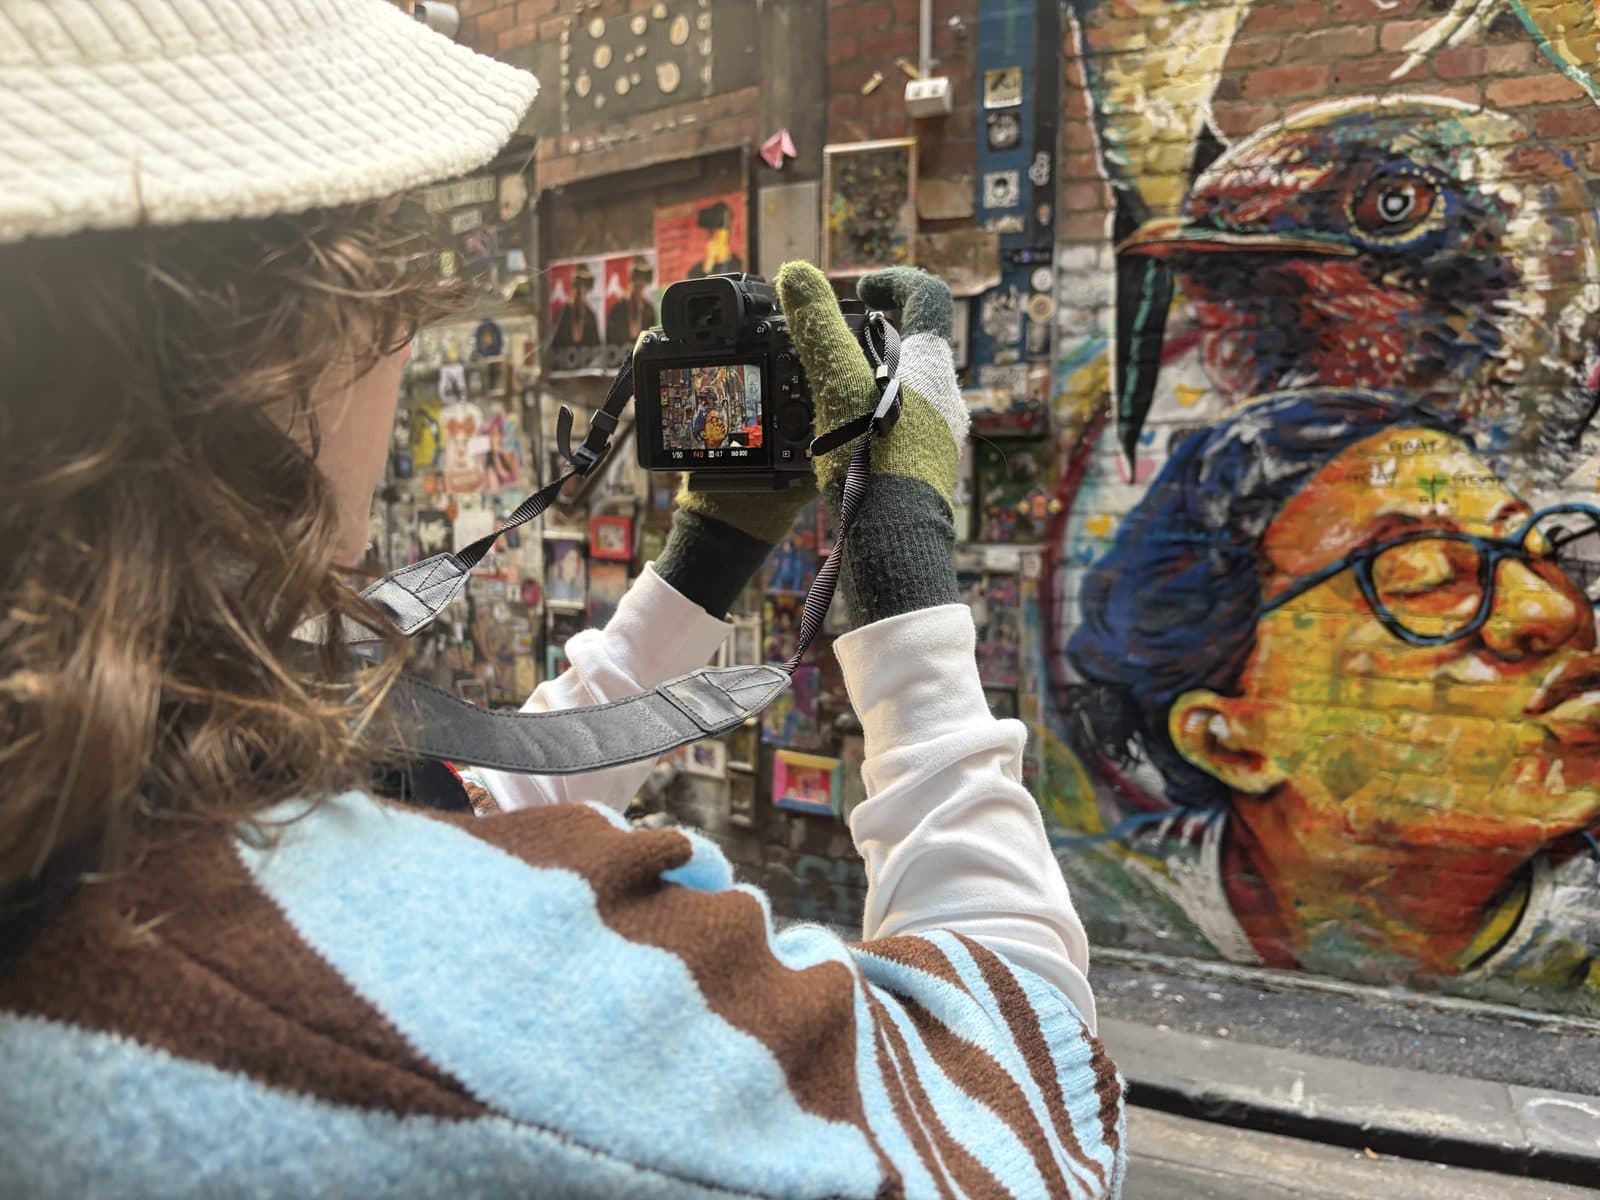
The A7 III on a laneway wall packed with street art, screen showing 1/50, f/4, ISO 800.
Three Hours Through Melbourne CBD
The session moves through the city as it shoots. A winter morning near RMIT opens onto wide streets and towers under a high cirrus sky, then narrows into Melbourne's laneways, where low sun comes down one end and deep shade fills the other. A wide avenue, a bright rainbow-painted facade, a shaded lane, and a mural on old brick each ask for a different focal length and a different exposure.
That range across one walk is the point. After setting exposure for open sun on a main street and again for a covered lane a few minutes later, the adjustments start to feel routine, which is exactly what a 24-105mm zoom on a full-frame body is built for.
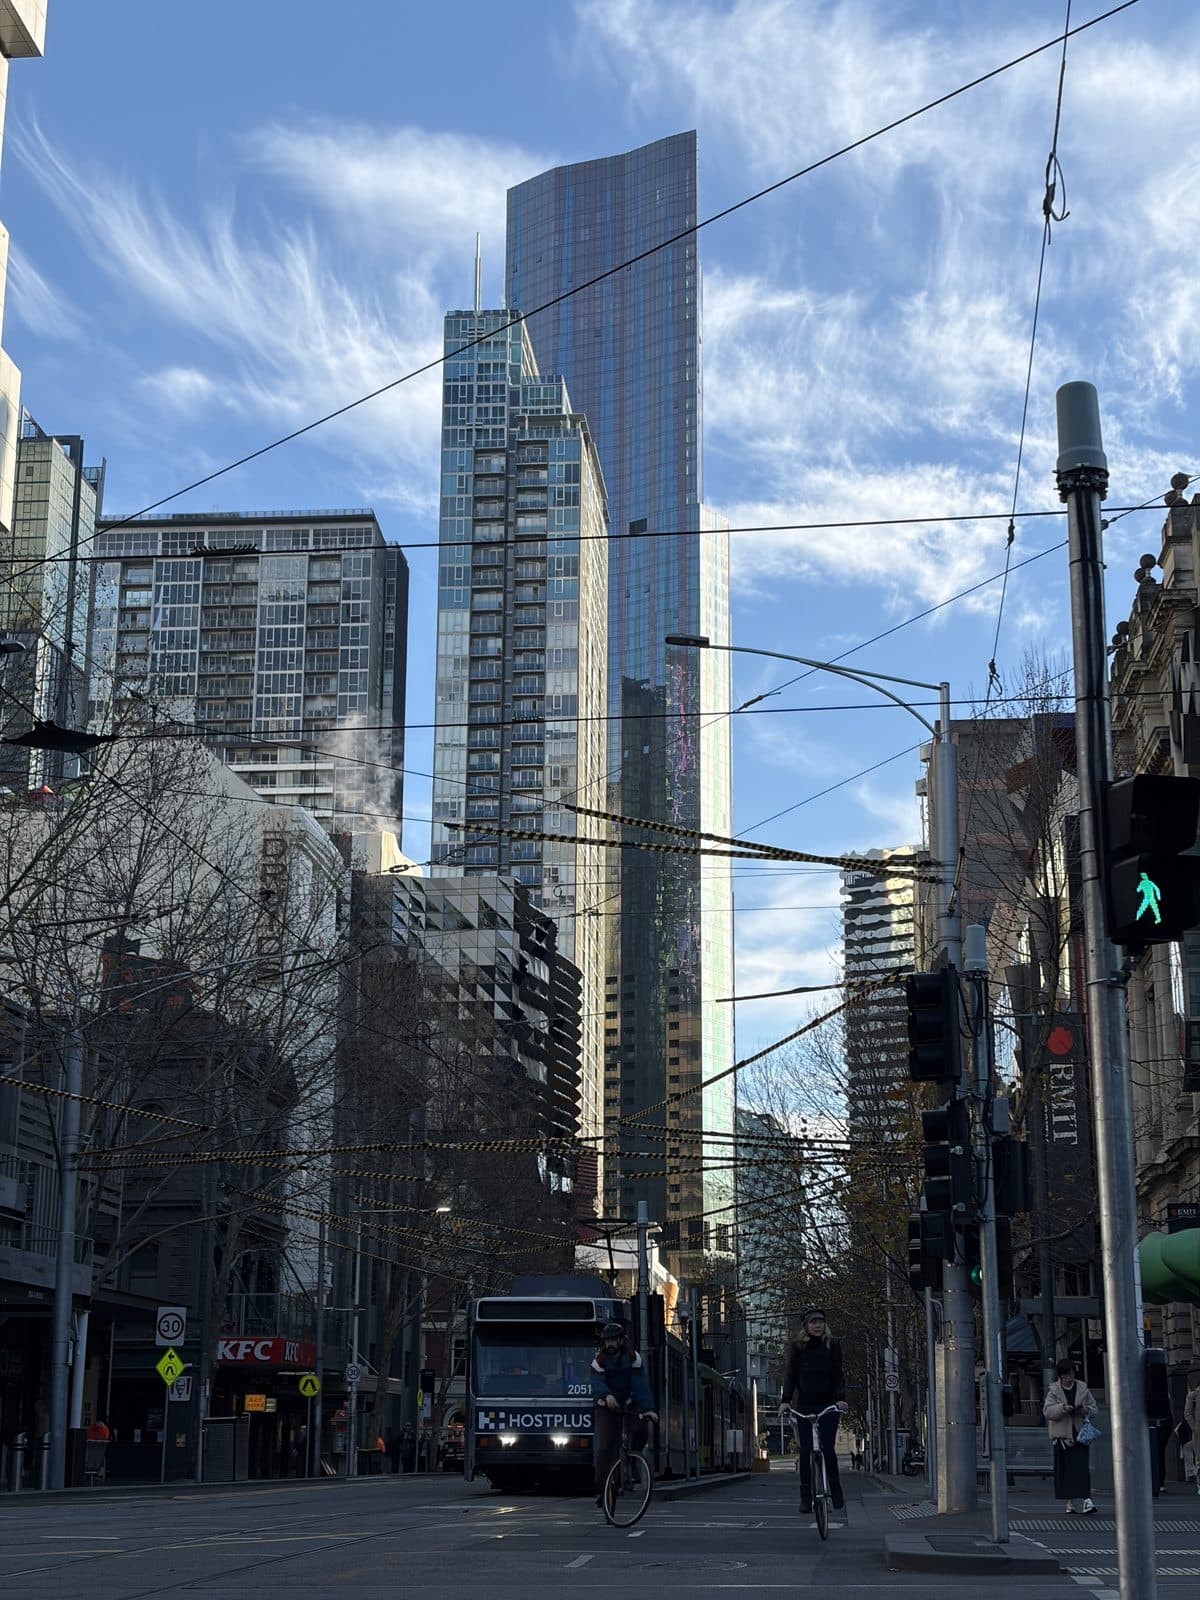
A wide street near RMIT, towers and tram wires under winter cirrus.
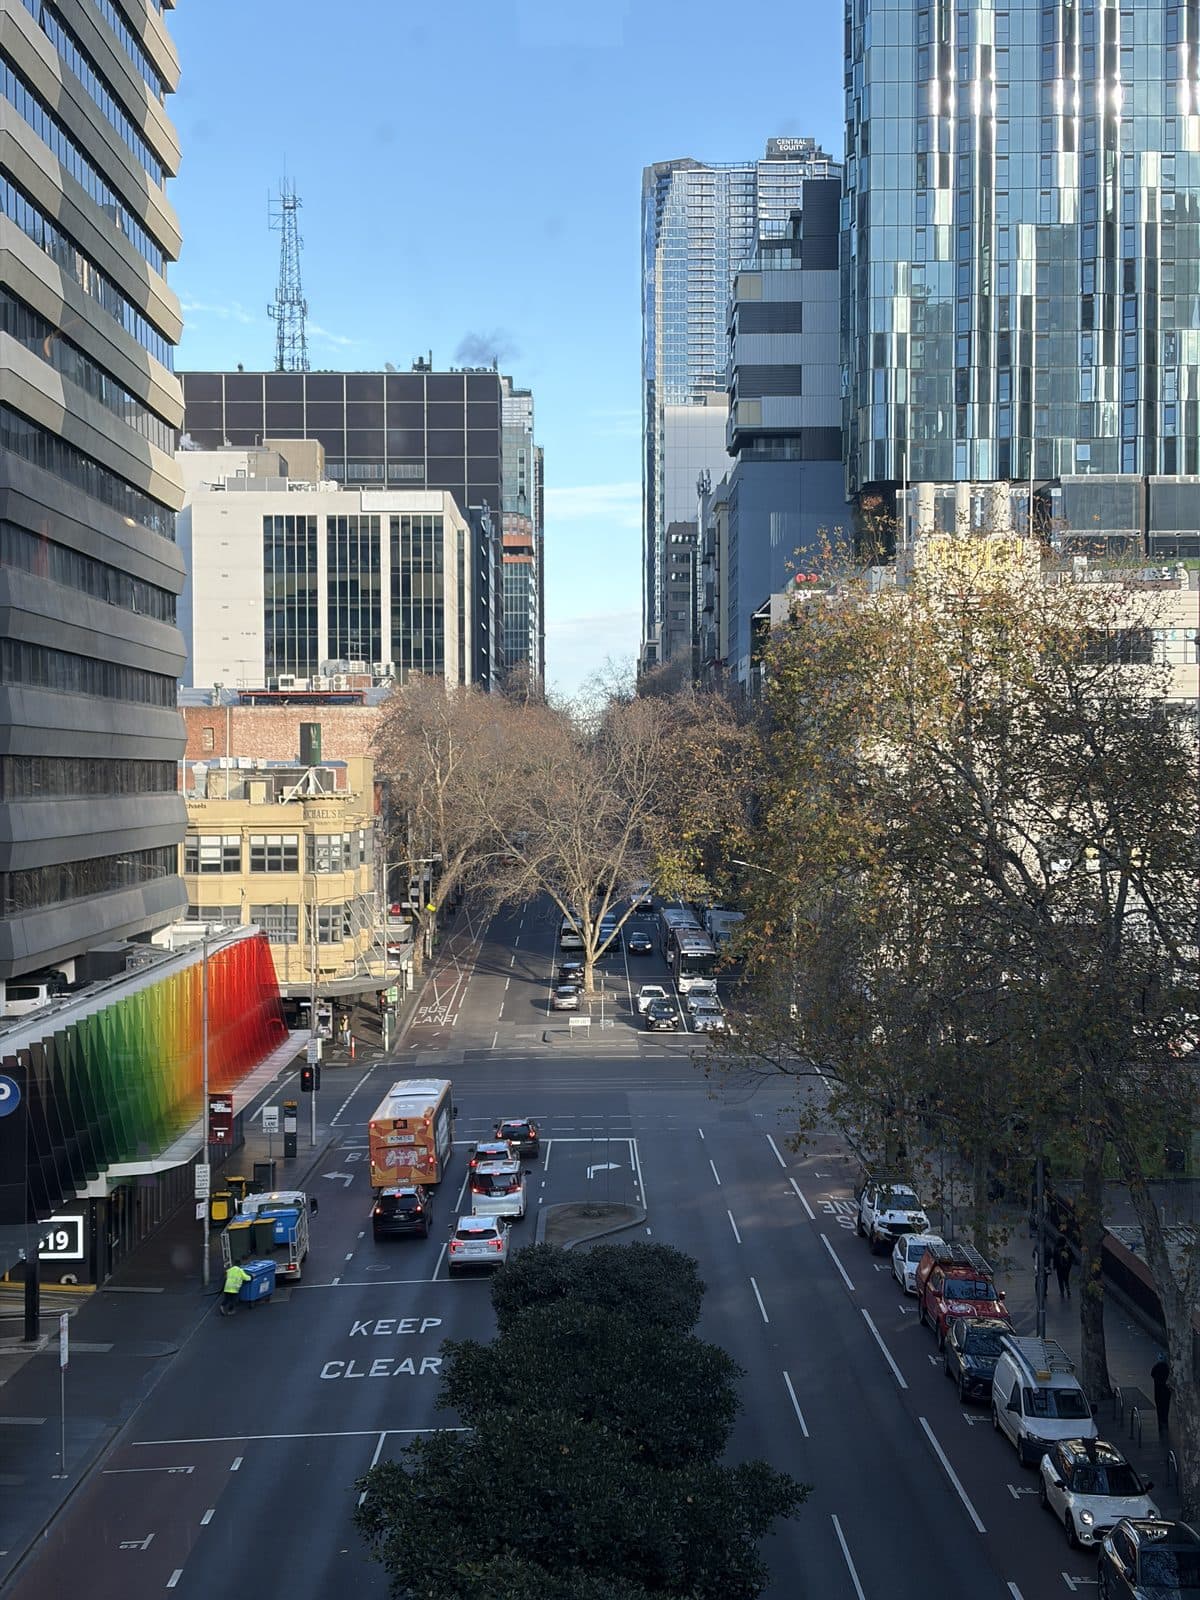
A rainbow-painted facade down a tree-lined street, a run at bright colour in flat light.
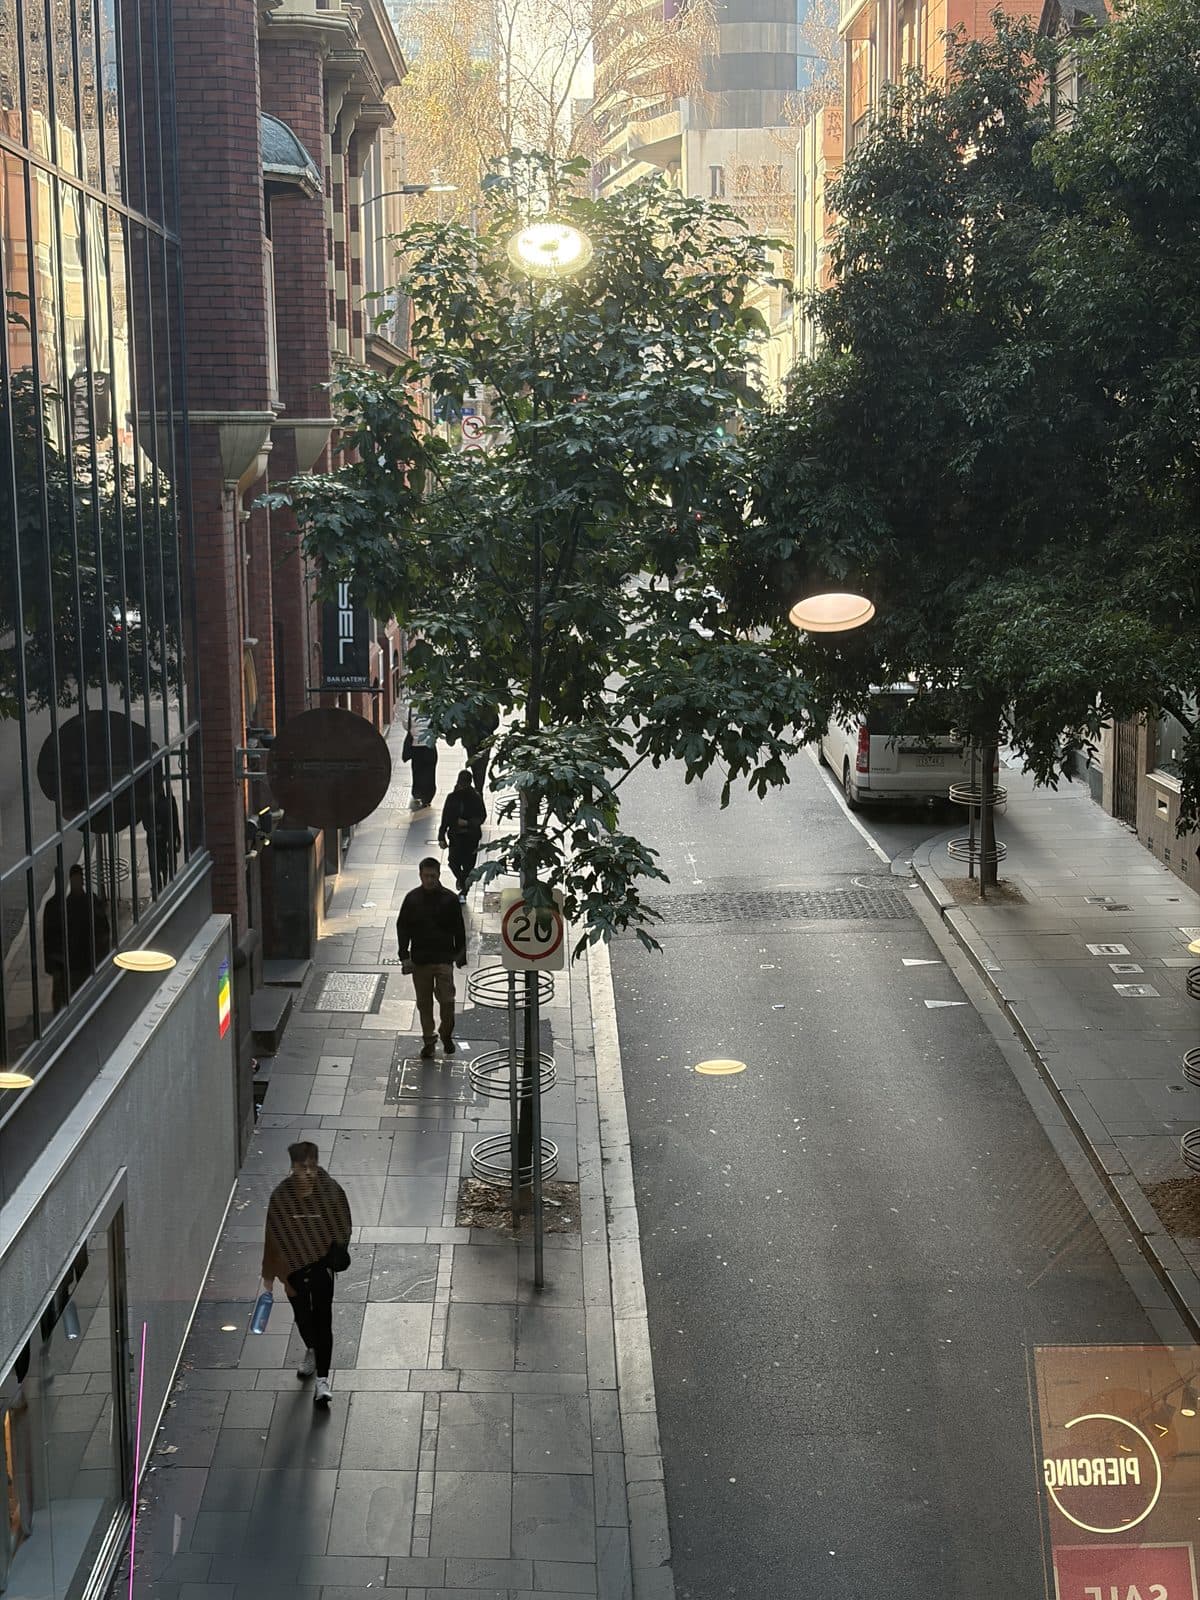
Low morning sun down a laneway, the kind of backlight that makes you think about exposure.
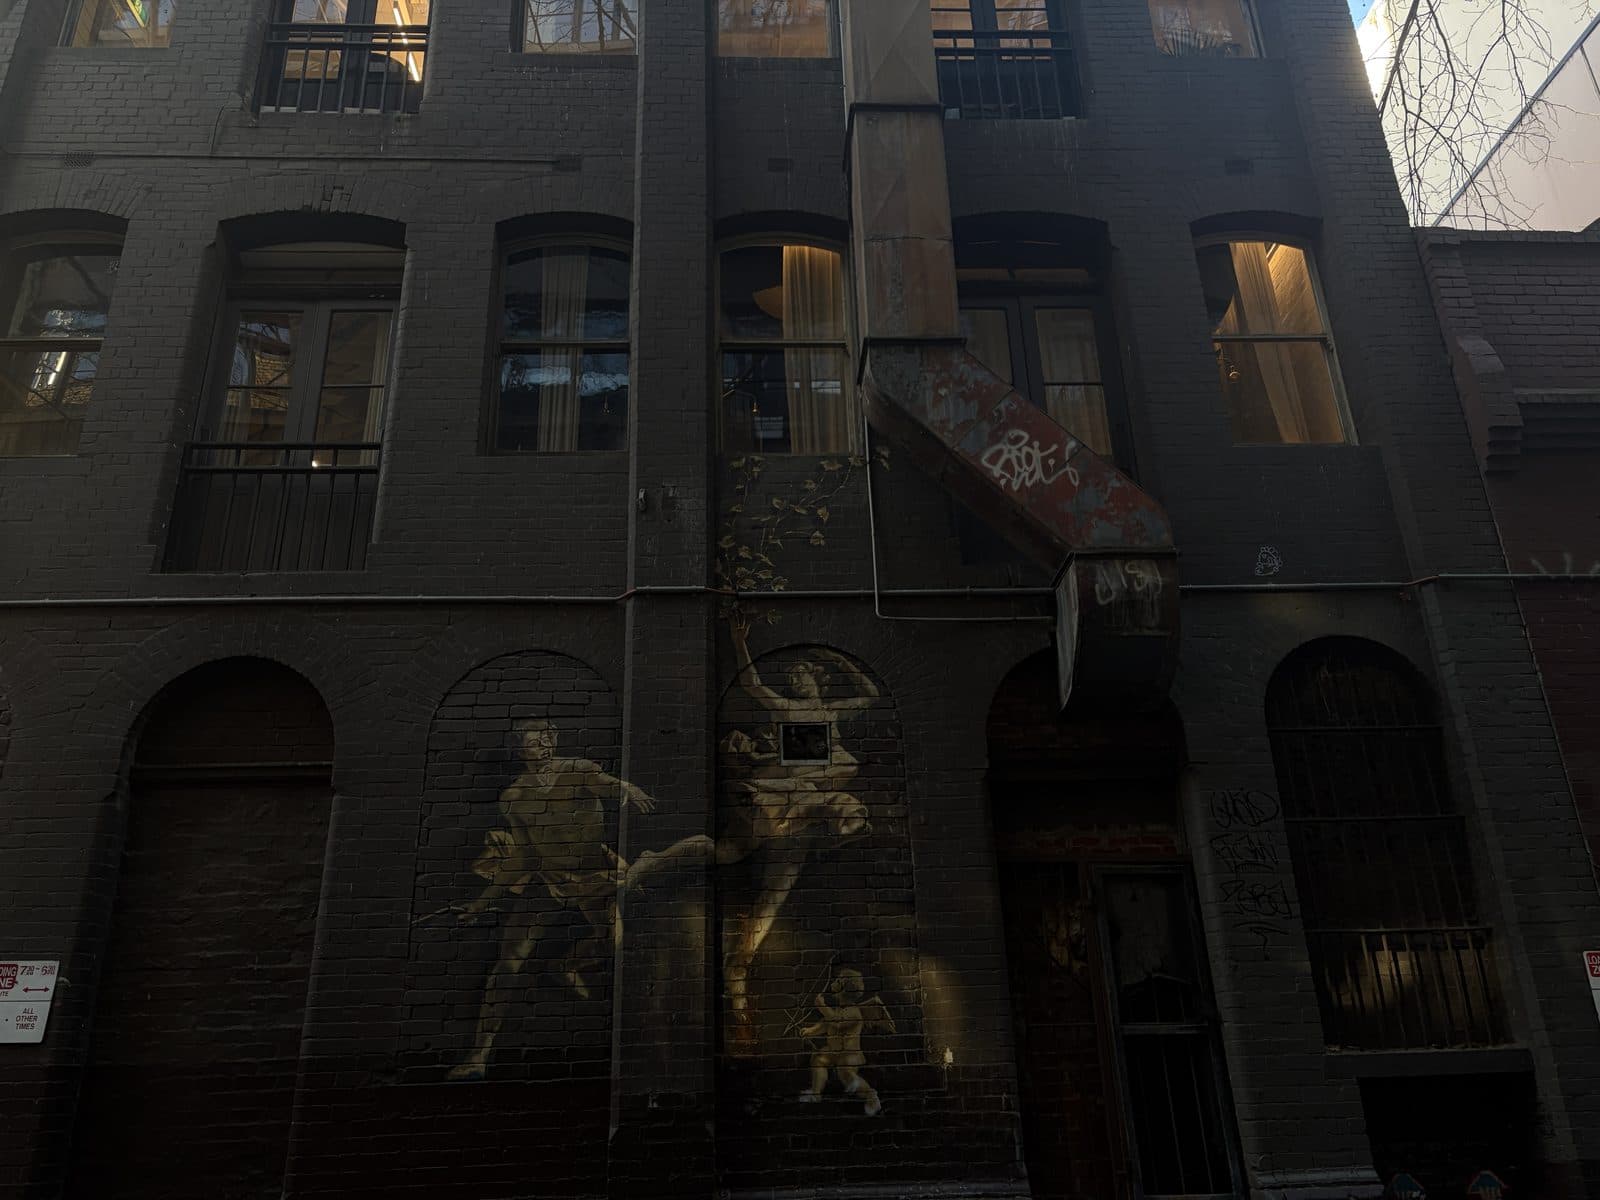
Gold figures painted across old brick, catching a shaft of light down the lane.
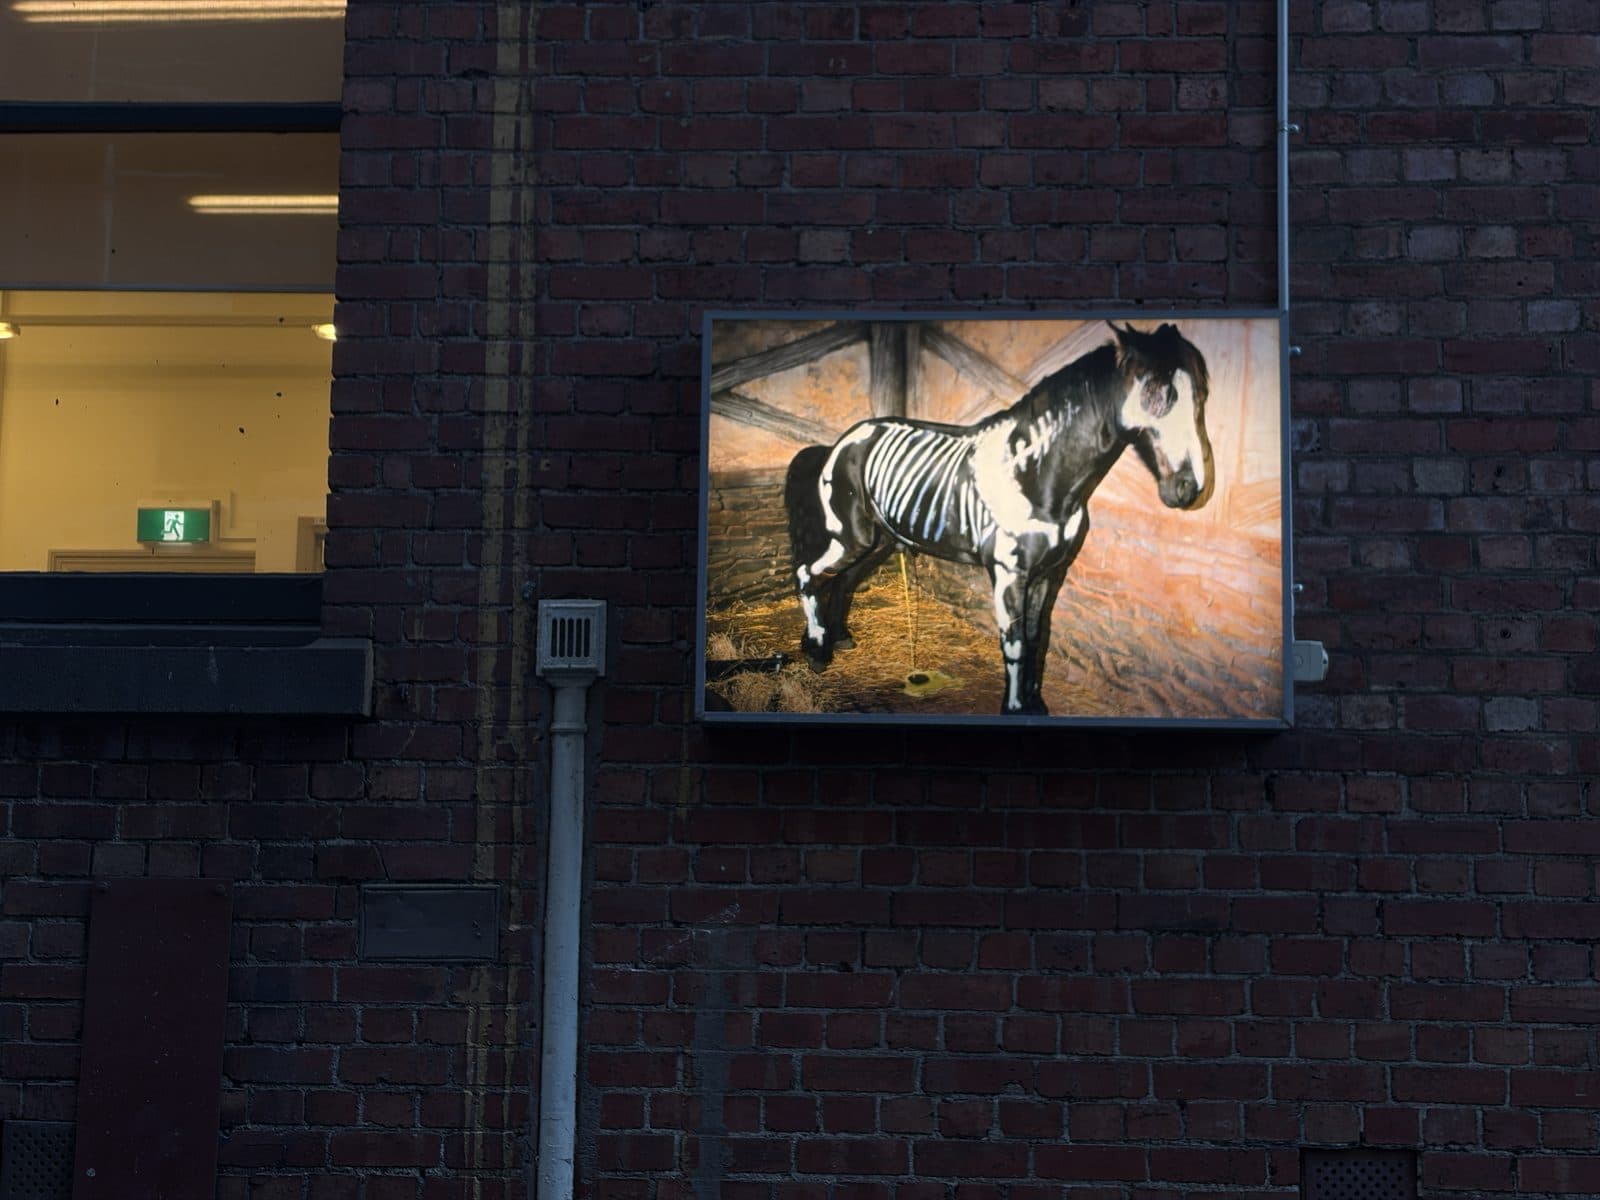
A backlit lightbox artwork on a brick wall, a bright subject against a dark surround.
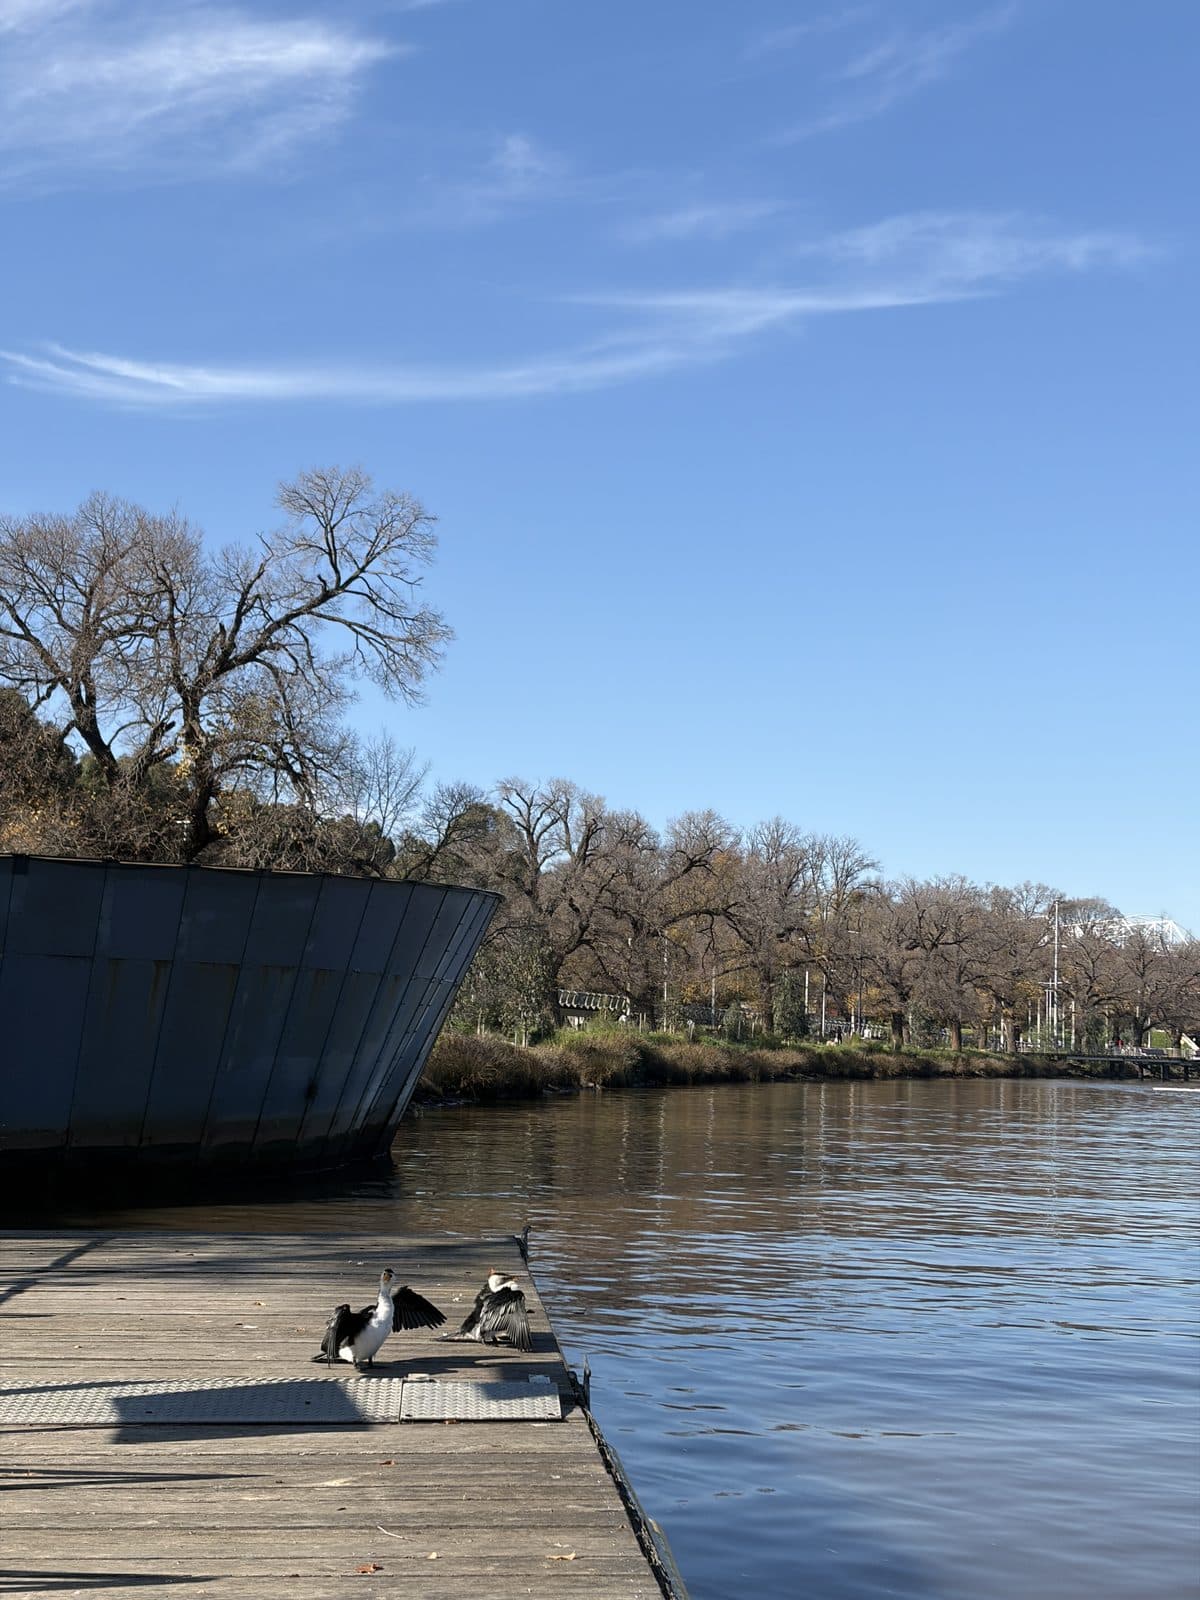
Two cormorants on a river boardwalk, a chance to work a longer focal length on the 24-105.
Sony A7 III and 24-105mm G: Quick Answers
Is the Sony A7 III good for learning manual mode?
Yes. The A7 III is a full-frame mirrorless body with two command dials and a dedicated ISO control, so shutter speed, aperture, and ISO each have their own place. You can see the exposure change live in the viewfinder as you adjust, which makes it easy to learn what each setting does. The course covers your camera's specific layout so the controls stop getting in the way.
Is the 24-105mm f/4 G a good one-lens setup for a photography walk?
It covers a wide range on one lens. At 24mm it takes in a building or a full laneway, and at 105mm it reaches a detail across the street, with the aperture holding at f/4 the whole way. On a three-hour walk that means no lens swaps, and the optical stabilisation helps when the light drops in a covered lane. It's a common walk-around choice on Sony full-frame bodies.
Do I need a full-frame camera for the course?
No. Manual mode works the same on any camera with full manual control, from a kit-lens APS-C body to a full-frame one like the A7 III. Bring whatever you own. The three hours are spent on your camera's own dials and menus, so you leave able to shoot manual on the body you already have.
Where does the photography course go in Melbourne?
Through Melbourne CBD on foot. A session moves from wide streets near RMIT into the street-art laneways, past murals and heritage brick, and out to the river. The variety is deliberate: open sun, deep shade, and backlight in one walk gives you a lot of different light to set exposure for.
What the Course Covers
- Full manual mode on your own camera, including your specific dials and menu layout
- Shutter speed, aperture, and ISO - what each one does and when to change it
- Reading light in real conditions, from open sun to shaded laneways
- Working with whatever lens you bring, from a kit zoom to a 24-105mm f/4
- Composing shots on location across Melbourne CBD
Free calculators
To plan background blur on a full-frame body like the A7 III, use the depth of field calculator and the exposure calculator.
The files from a session like this are where the work starts. The next step is developing them in Lightroom. You can also see how Rachael shot the laneways on a fixed-lens Fujifilm X100VI, how Ron shot the laneways on a Sony A7CR, how Elan and Cosette worked a Sony a7 IV and a Canon M50 Mark II, or how Megan and Sage shot two Fujifilm cameras across the city. For another zoom-lens session on a full-frame body, there is Michael's Nikon Z6 II with a 28-400mm superzoom.
Your Turn
The DSLR & Mirrorless Express Photography Course runs on Fridays or Saturdays in Melbourne CBD. Max 2 students. $499. Check our photography tips for beginners if you want a head start before you come.