A Fujifilm X100VI from the Royal Arcade to Hosier Lane on a Melbourne Photography Course
One fixed lens meant Penny framed with her feet, working a Fujifilm X100VI through the Royal Arcade, Hosier Lane, and the CBD's heritage streets across three hours.
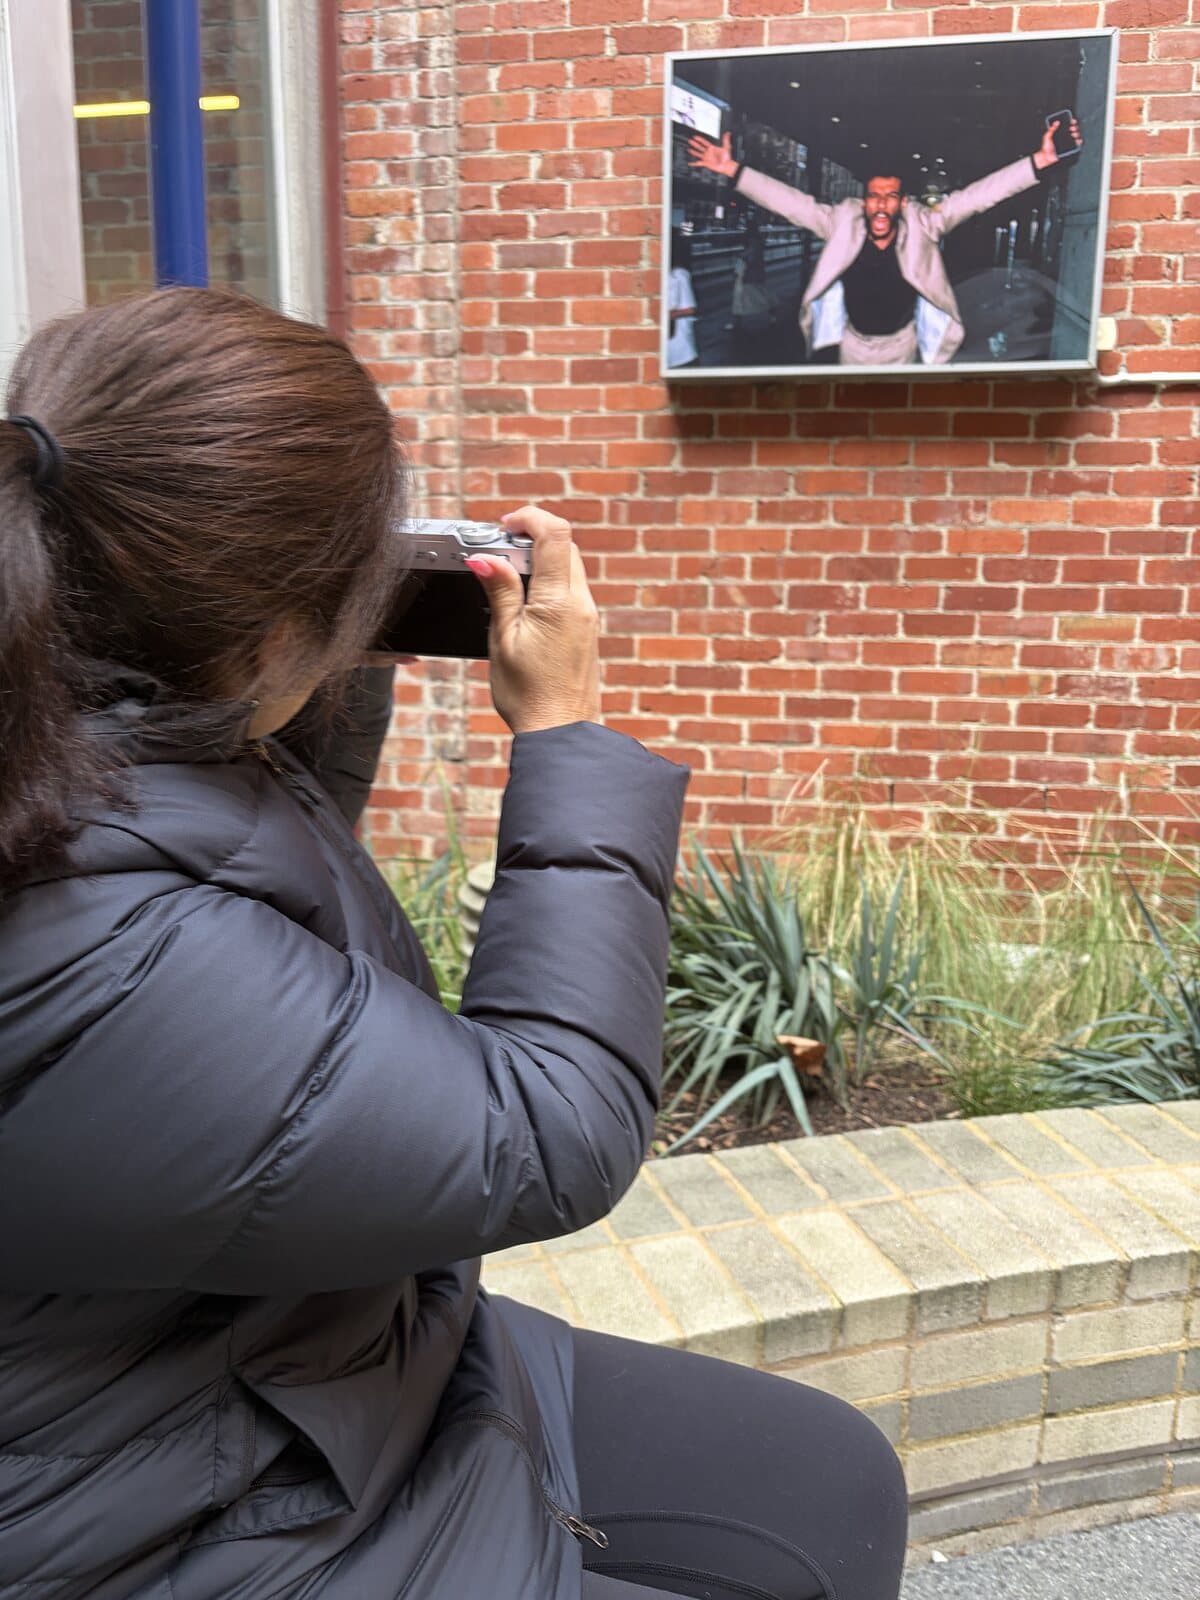
Penny lining up a framed print on a brick wall, the X100VI up at eye level.
The Camera: Fujifilm X100VI
The Fujifilm X100VI is one of those cameras people genuinely fall for, and Penny brought hers along for the morning. It's a lovely little compact with a 40-megapixel APS-C sensor and a single fixed 23mm f/2 lens, which on this body works out to roughly a 35mm-equivalent view, the classic street focal length. There is no zoom and nothing to swap on the front. If you want a tighter frame you walk closer, and if you want the whole laneway you back up, and that little bit of footwork is a big part of what makes the X100VI such a nice camera to learn on.
Hers is the silver version, small enough to sit in one hand while you thumb the dials. It has a hybrid viewfinder you can switch between optical and electronic, and in-body stabilisation that steadies the frame when the light drops under an arcade roof and the shutter slows. If you're still working out which camera to bring along, our beginner camera guide walks through what to look for.
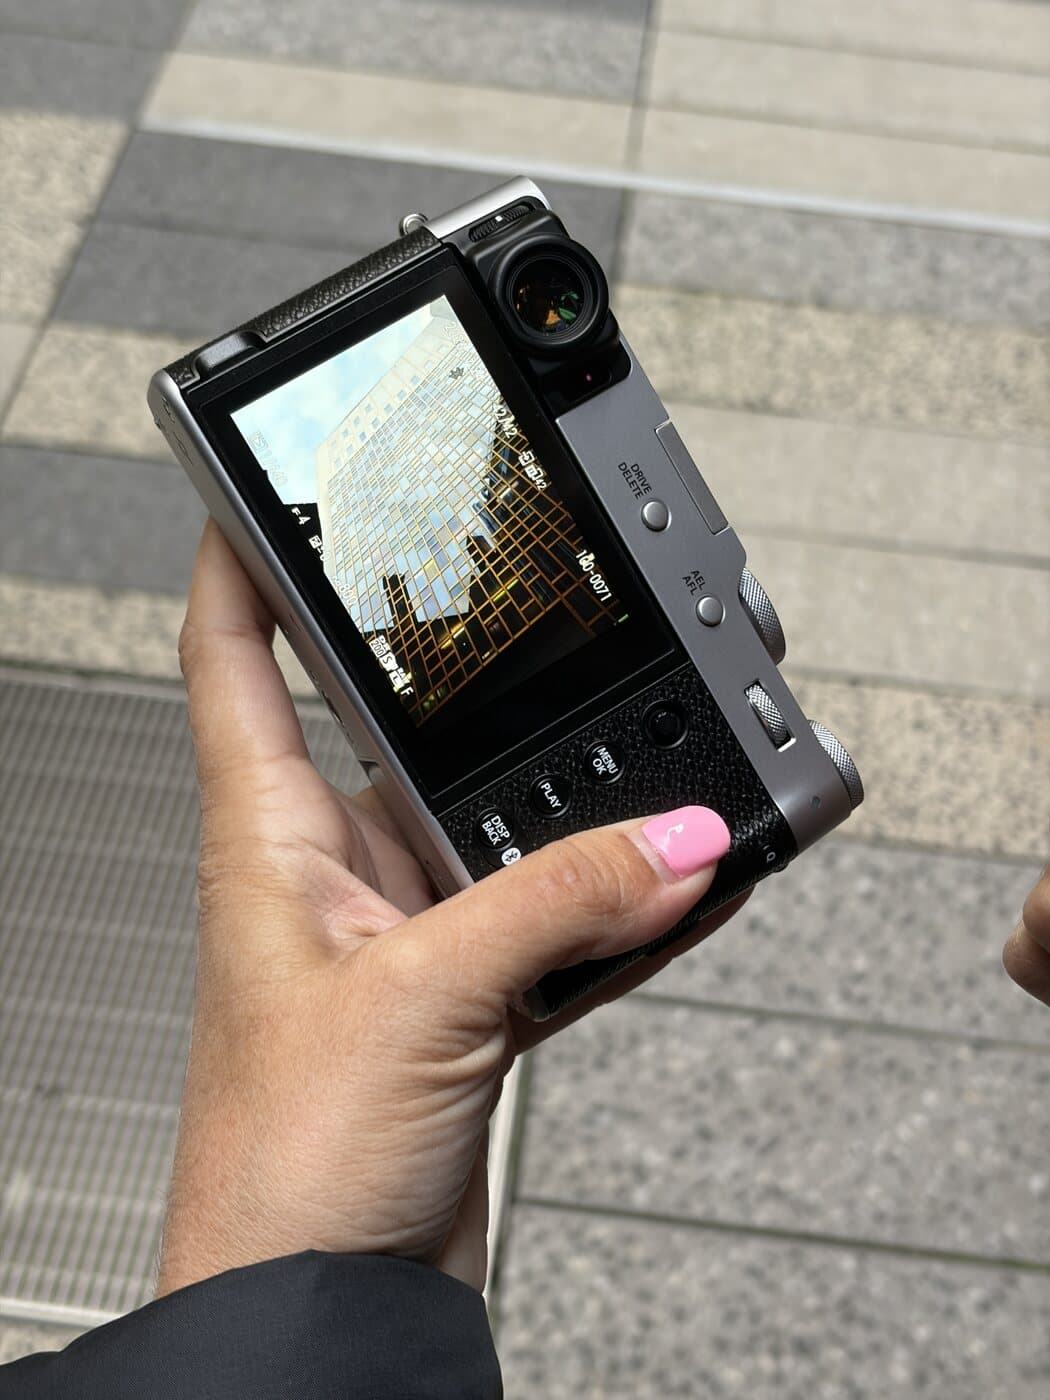
Checking a frame on the back screen, a glass tower held at f/4.
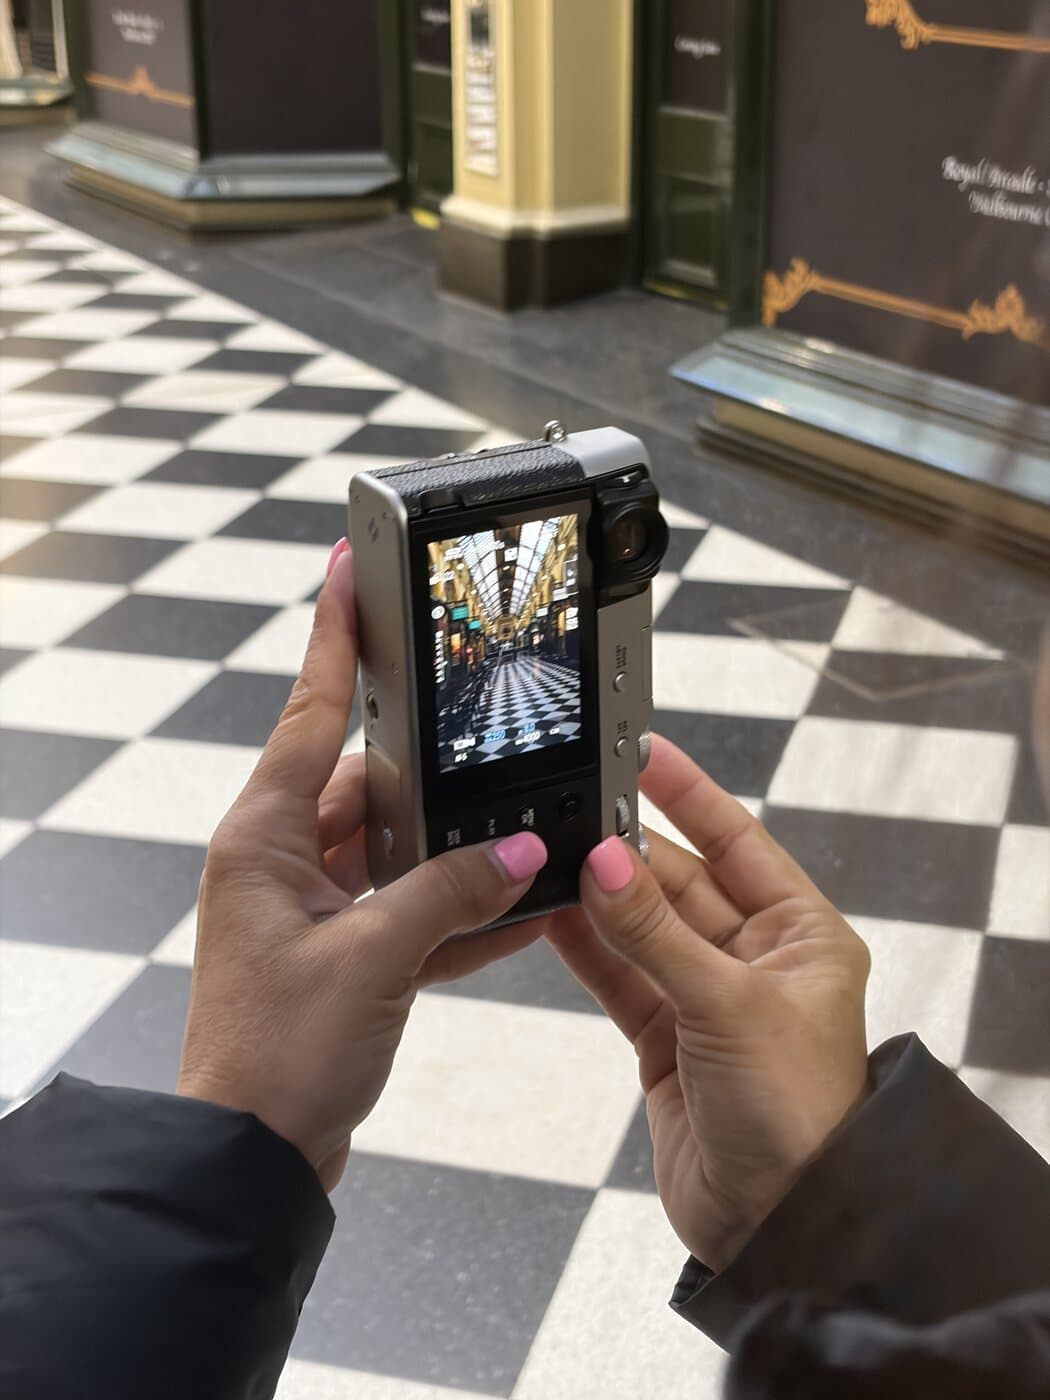
Lining up the Royal Arcade on the back screen, checkerboard floor running away under the glass.
Manual Mode on the X100VI
The X100VI is built around dials, which is what makes it such a clear camera to learn manual on. Aperture lives on a ring around the lens, shutter speed sits on a dial on top, and ISO has its own control, so each part of the exposure has a physical place you can see and turn. You can read your whole exposure off the top of the camera before you even raise it. Three hours is enough time to get those dials under your fingers and to watch what each one does to a photo as the light changes around the city. Our guide to learning manual mode covers the same ground step by step.
The numbers move with the light. Out in the bright open street a glass tower sits at f/4; step into the shade of an arcade a few minutes later and the same kind of shot wants a slower shutter and a higher ISO. Reading a scene and landing on figures like that is what the exposure triangle is for, and it's most of what the three hours cover.
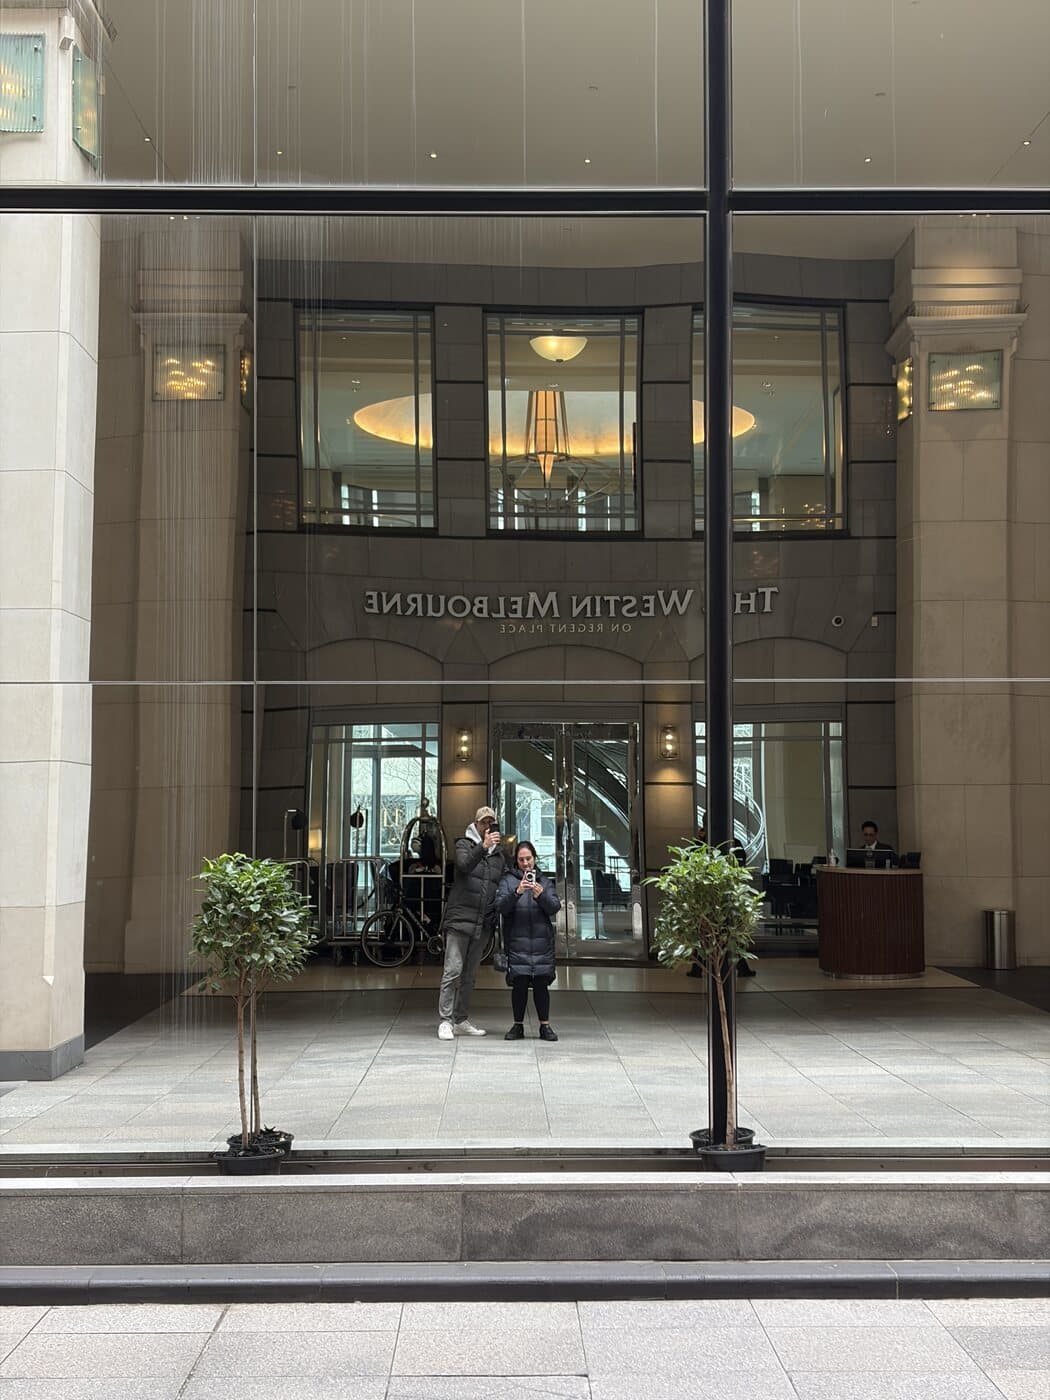
Shooting the mirrored frontage of The Westin on Regent Place, reflections doing the composing.
From the Royal Arcade to Hosier Lane: Three Hours Through Melbourne CBD
The session moves through the city as it shoots. A winter morning opens onto Melbourne's laneways, where the walls run floor to roofline with murals, paste-ups, and paint. There is a towering green-robed figure down one lane, a spray-painted punk bird staring back from a brick wall, and up on Hosier Lane a huge painted portrait watching over the graffiti below. Each one sits in different light and asks for a different spot to stand.
Between the lanes the walk takes in the calmer, grander side of the city too: the glass roof and checkerboard floor of the Royal Arcade, a classical mural painted high on old brick, a line of chalk on a boardwalk that reads “Don't worry, be happy.” With one fixed focal length the framing comes from your feet, so you step in for the small detail and step back for the full scene, and after an hour of that the moving around starts to feel like part of seeing the shot.
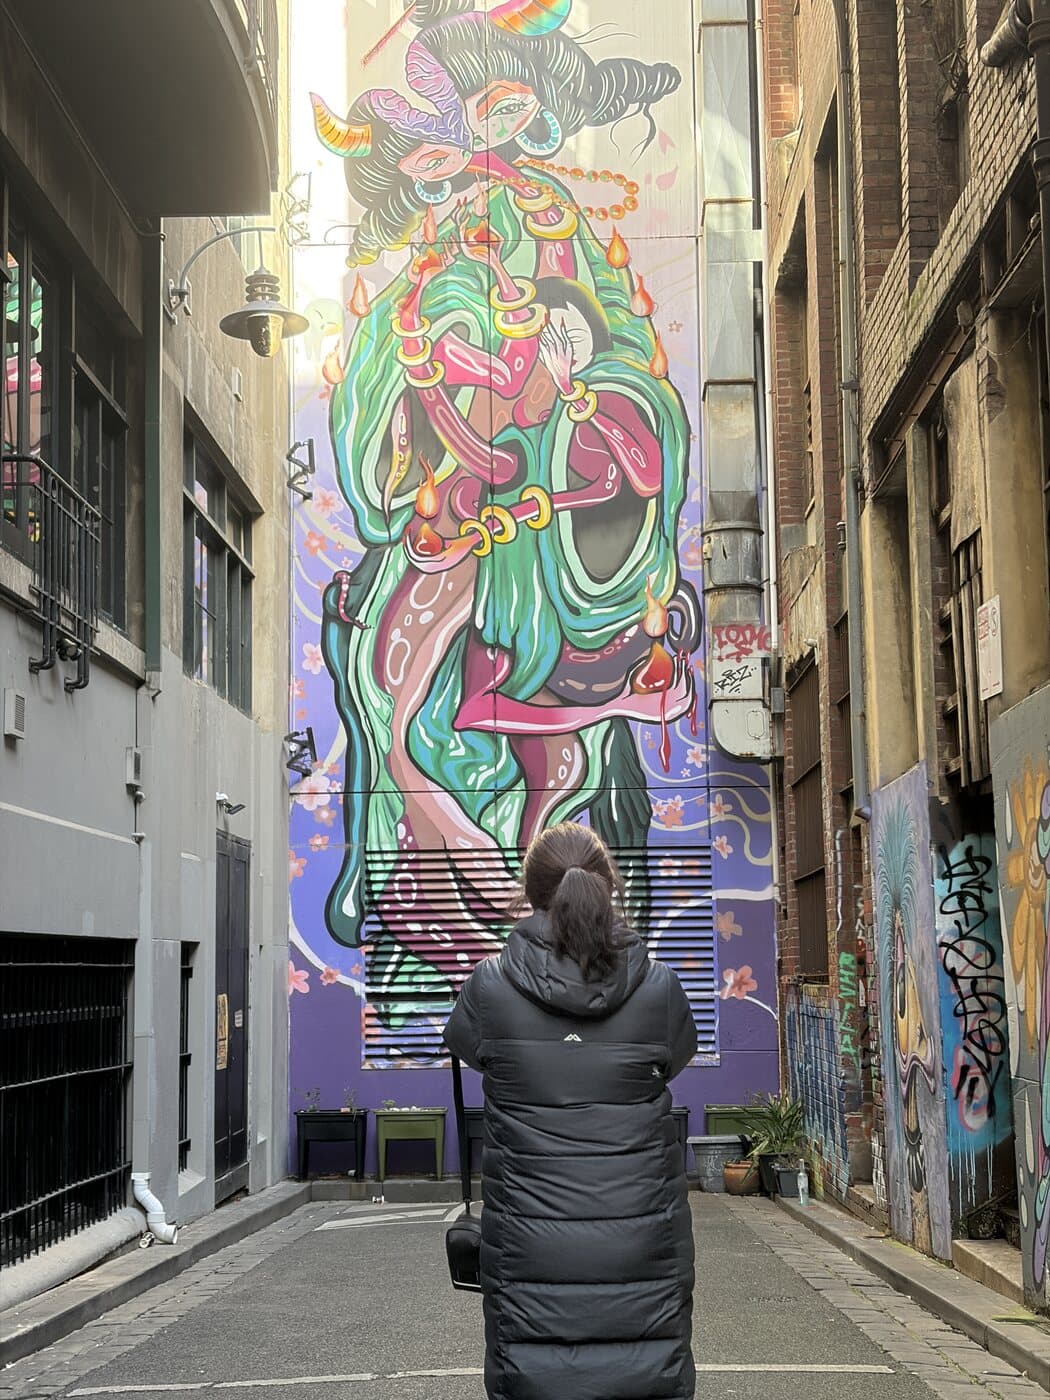
Standing back for the full height of a laneway mural.
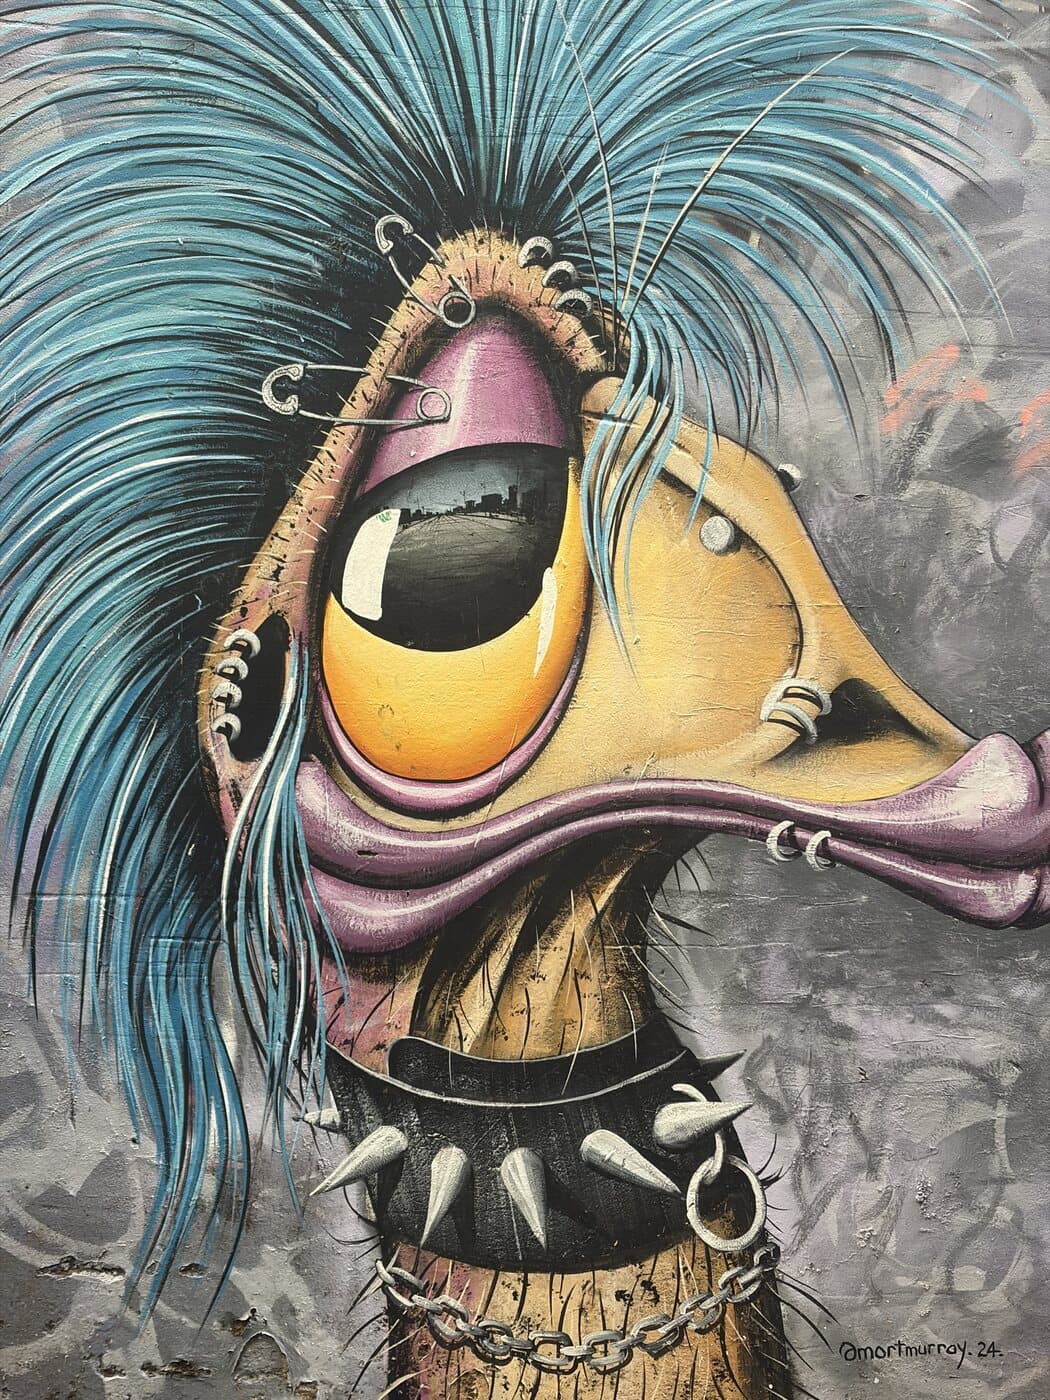
A punk bird staring off the brick, one of the details along the way.
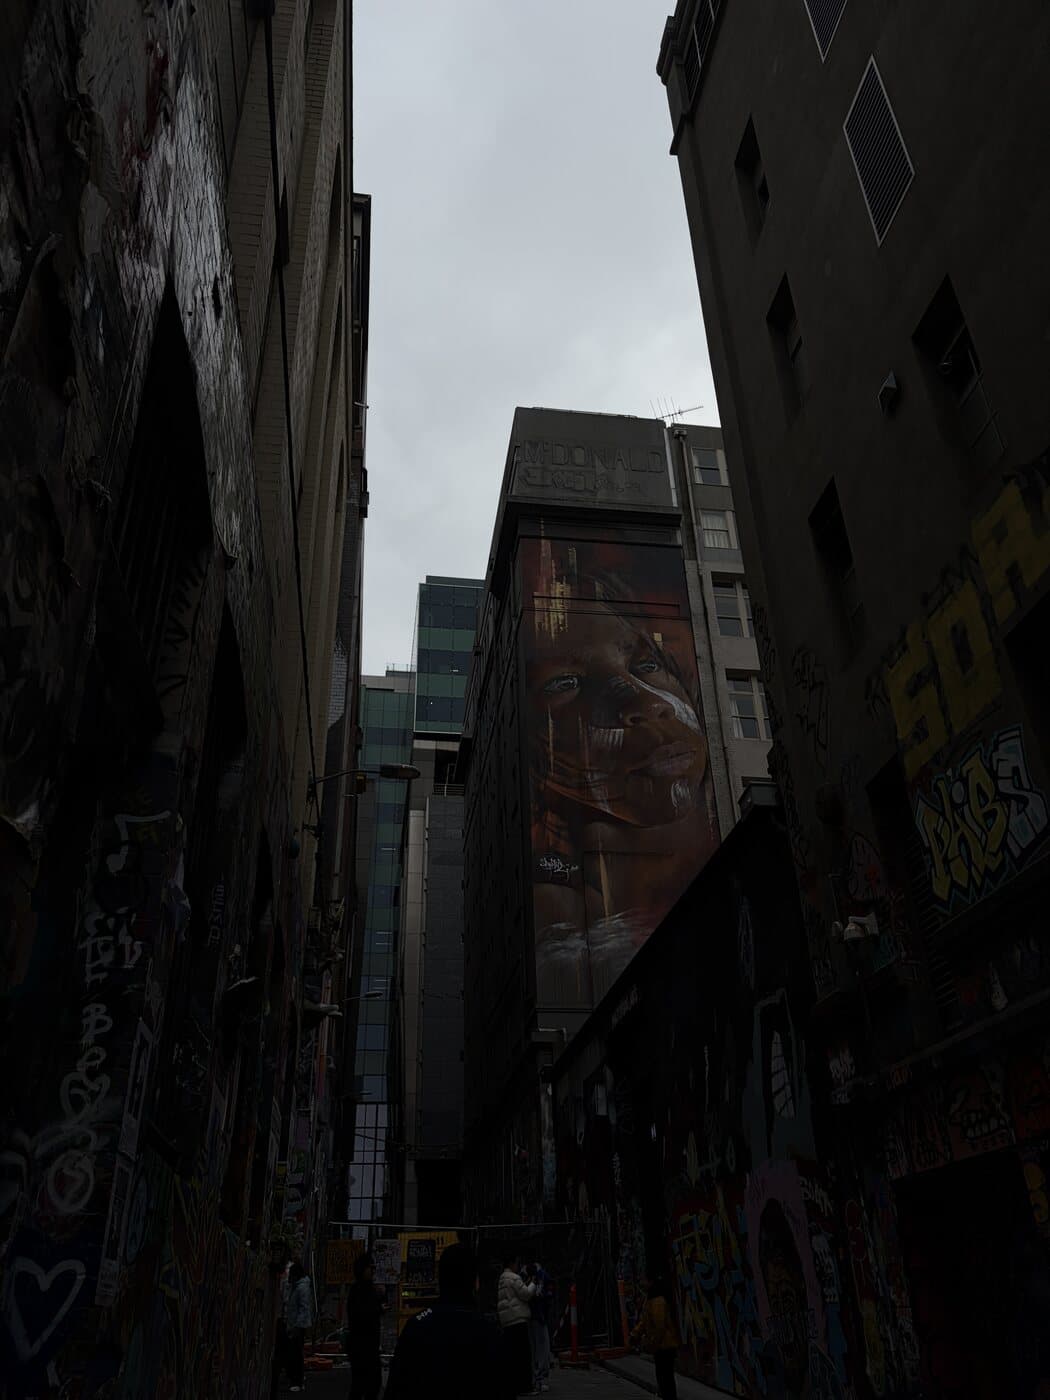
Hosier Lane under grey light, a painted portrait high on the wall.
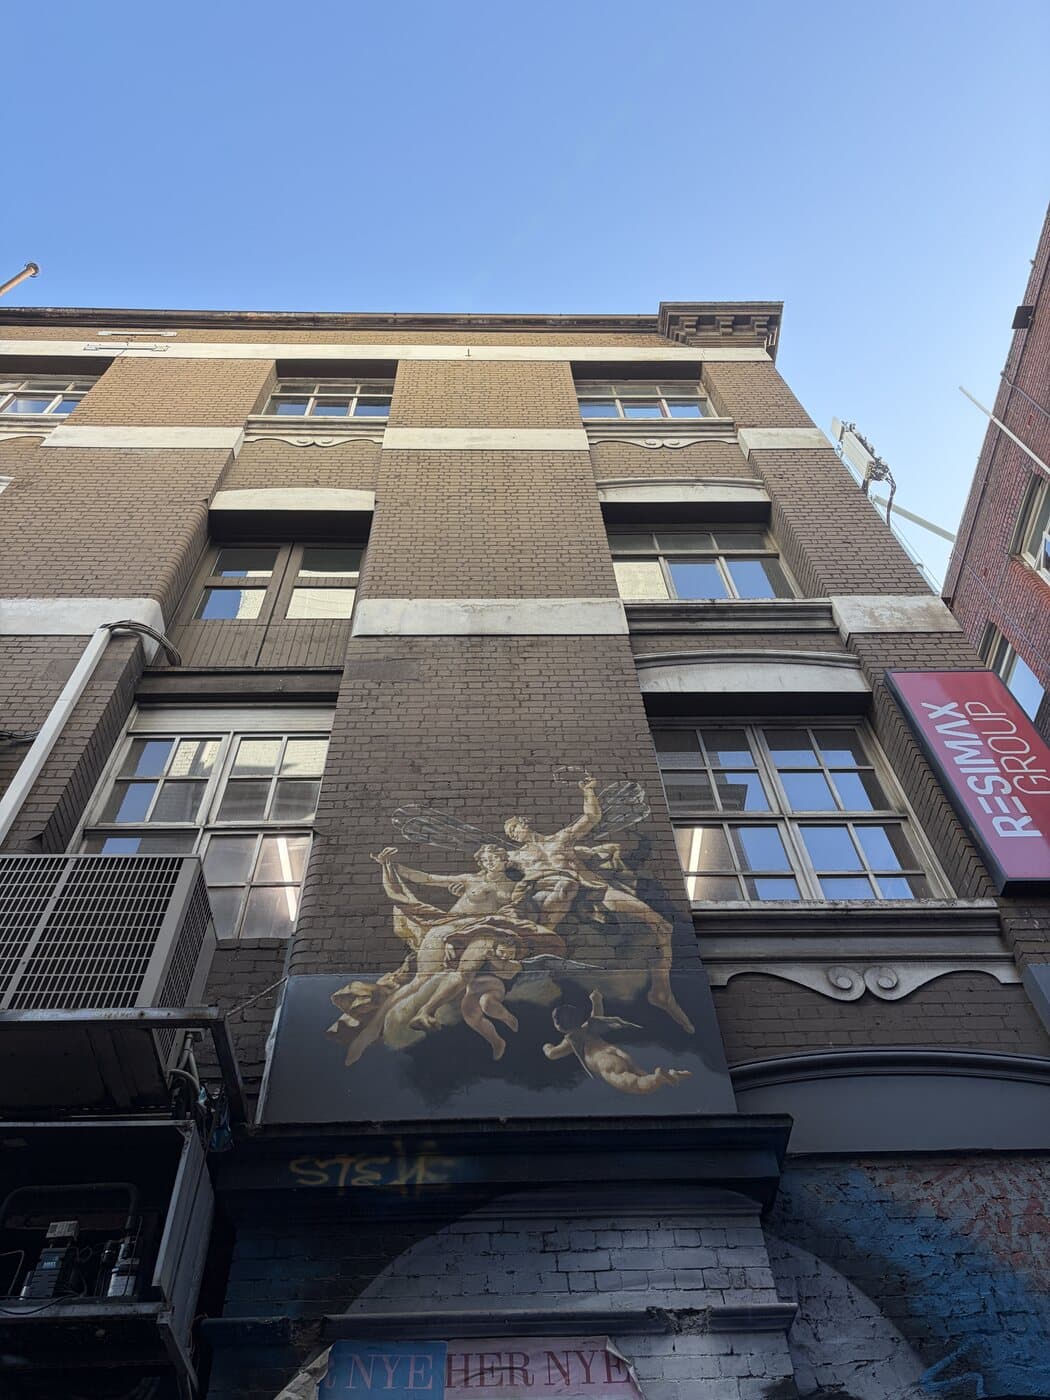
Looking straight up old brick to a classical mural against clear sky.
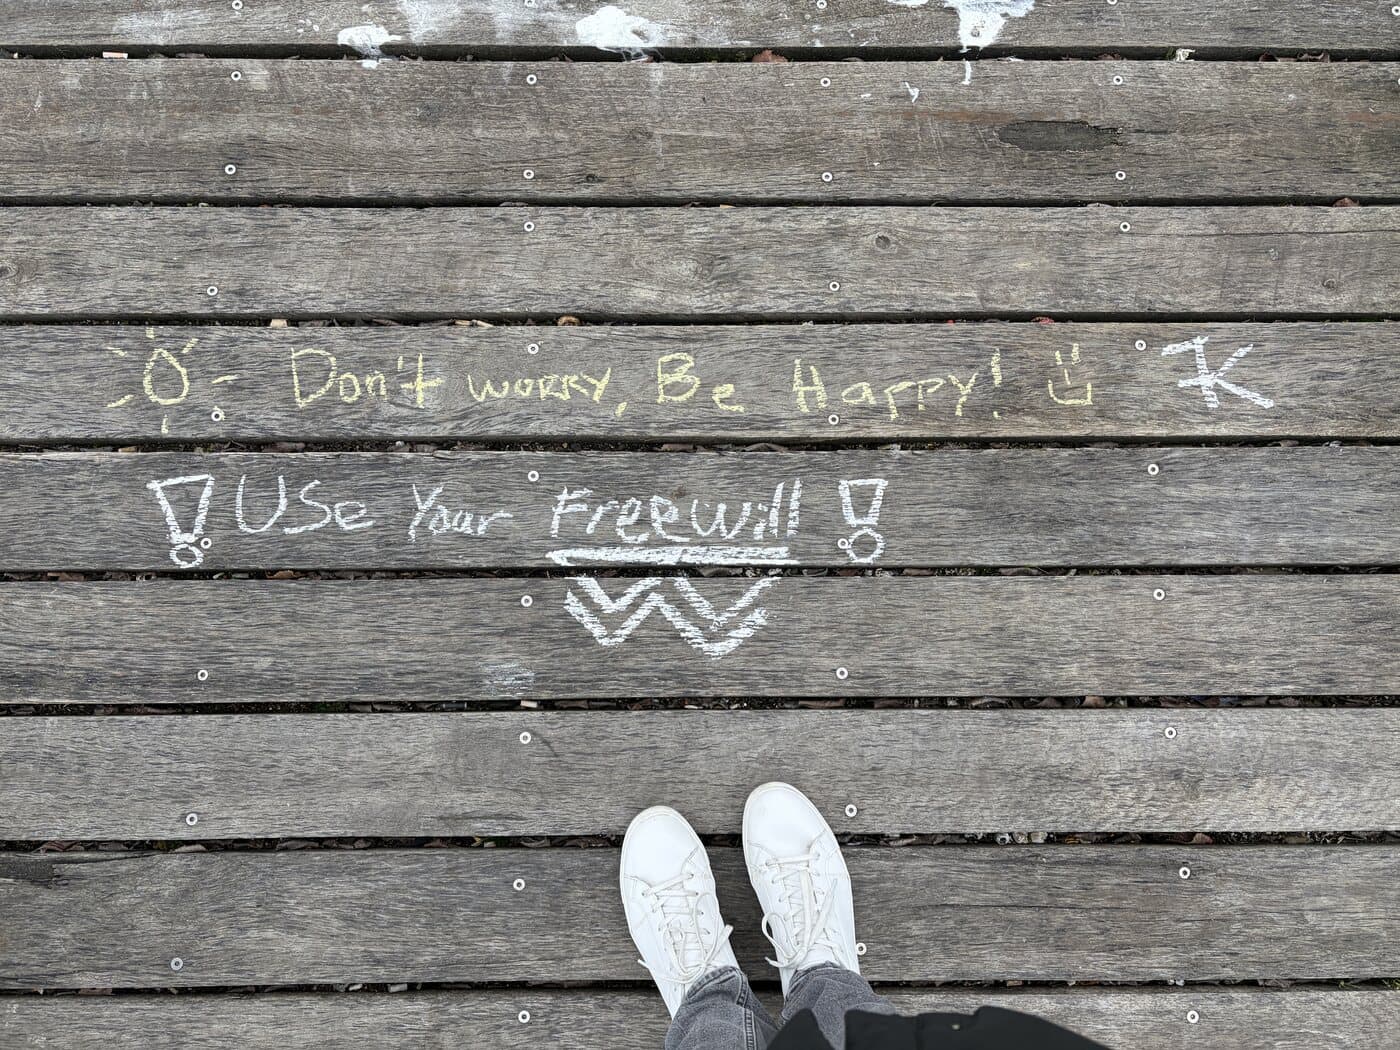
A message in chalk underfoot, the kind of small find a slow walk turns up.
Fujifilm X100VI: Quick Answers
Is the Fujifilm X100VI good for learning manual mode?
Yes, and the dials are the reason. Aperture sits on a ring around the lens, shutter speed on a top dial, and ISO on its own control, so each part of the exposure has a physical place you can see and turn. You can read your settings off the top of the camera before you raise it. The course covers your camera's specific layout so the controls stay out of the way.
Is a fixed 35mm-equivalent lens limiting for a photography walk?
It's freeing more than limiting. One focal length means the framing comes from where you stand, so you step in for a detail and step back for a full laneway instead of turning a zoom ring. The 35mm-equivalent field of view is wide enough for a street scene and tight enough to pick out one subject, which is why it's a long-standing street photography choice.
Do I need an X100VI or a compact for the course?
No. Manual mode works the same on any camera with full manual control, from a kit-lens body to a fixed-lens compact like the X100VI. Bring whatever you own. The three hours go on your camera's own dials and menus, so you leave able to shoot manual on the body you already have.
Can you photograph the Royal Arcade and Hosier Lane on the course?
Yes. Penny's session ran on foot through Melbourne CBD, from the glass-roofed Royal Arcade to the street art of Hosier Lane, past heritage brick and the mirrored frontage of The Westin. The variety is deliberate: open sun, deep arcade shade, and reflected glass in one walk gives you plenty of different conditions to set exposure for.
What the Course Covers
- Full manual mode on your own camera, including your specific dials and menu layout
- Shutter speed, aperture, and ISO - what each one does and when to change it
- Reading light in real conditions, from open sun to shaded arcades and laneways
- Working with whatever lens you bring, from a kit zoom to a fixed 35mm-equivalent
- Composing shots on location across Melbourne CBD
The files from a session like this are where the work starts. The next step is developing them in Lightroom. You can also see how Rachael worked the same X100VI across the laneways, how Dam shot Melbourne's backlit streets on a Fujifilm X-T5, or how Julia worked a Sony A7 III and a 24-105mm zoom.
Your Turn
The DSLR & Mirrorless Express Photography Course runs on Fridays or Saturdays in Melbourne CBD. Max 2 students. $499. Check our photography tips for beginners if you want a head start before you come.